this is a 1978 DT175 that i have that was given to me.
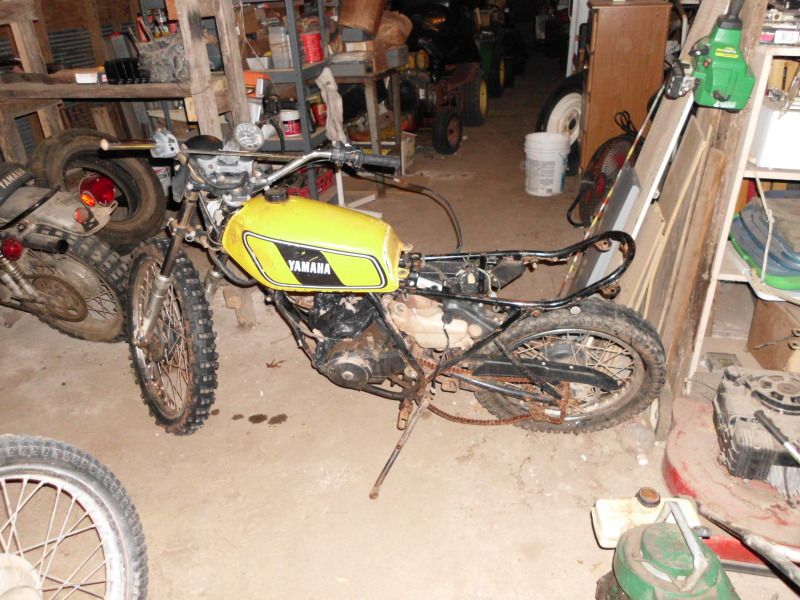
it came without a cylinder,carb and pipe,in fact there was a lot of missing parts and others were simply wrong for the bike.
it did come with the key for the helmet lock and ignition.

| Vintage Dirt Bike Q & A https://vintagedirtbikeforums.alp-sys.com/ |
|
| 1978 DT175 Rebuild and Restoration. https://vintagedirtbikeforums.alp-sys.com/viewtopic.php?f=28&t=3808 |
Page 1 of 8 |
| Author: | Dave [ Wed Sep 26, 2012 2:07 pm ] |
| Post subject: | 1978 DT175 Rebuild and Restoration. |
this is a 1978 DT175 that i have that was given to me. it came without a cylinder,carb and pipe,in fact there was a lot of missing parts and others were simply wrong for the bike. it did come with the key for the helmet lock and ignition.
|
|
| Author: | Dave [ Wed Sep 26, 2012 2:13 pm ] |
| Post subject: | Re: 1978 DT175 Rebuild and Restoration. |
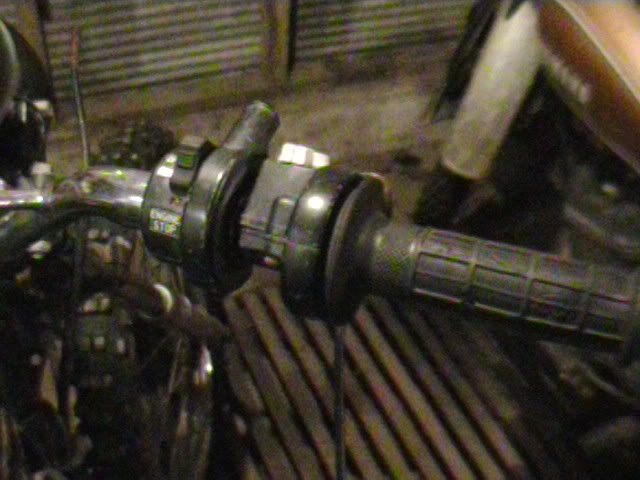
check out the lawnmower style ignition wire someone grafted on. 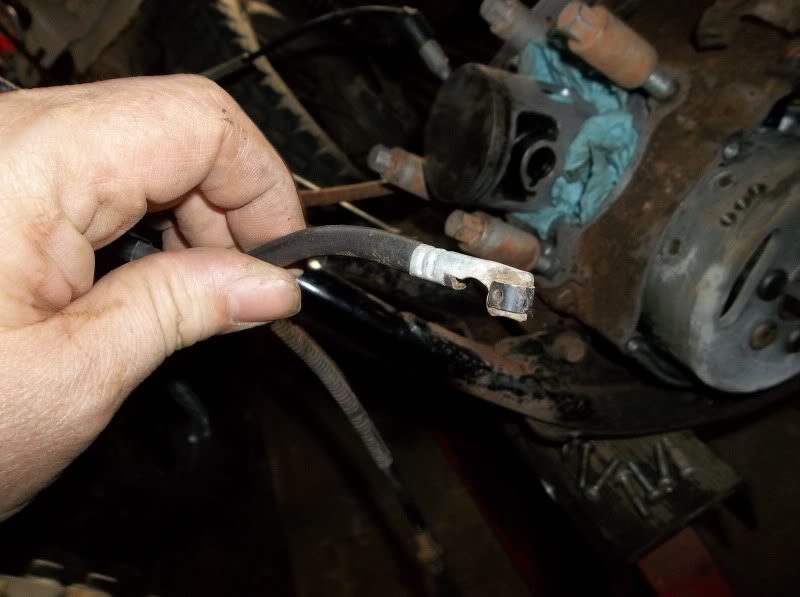 the nail for the oil tank swivel.  the wrong brake panel and rear wheel,these have a 18" rear wheel and this came with a wrong 17" rear wheel. here is the brake panel. 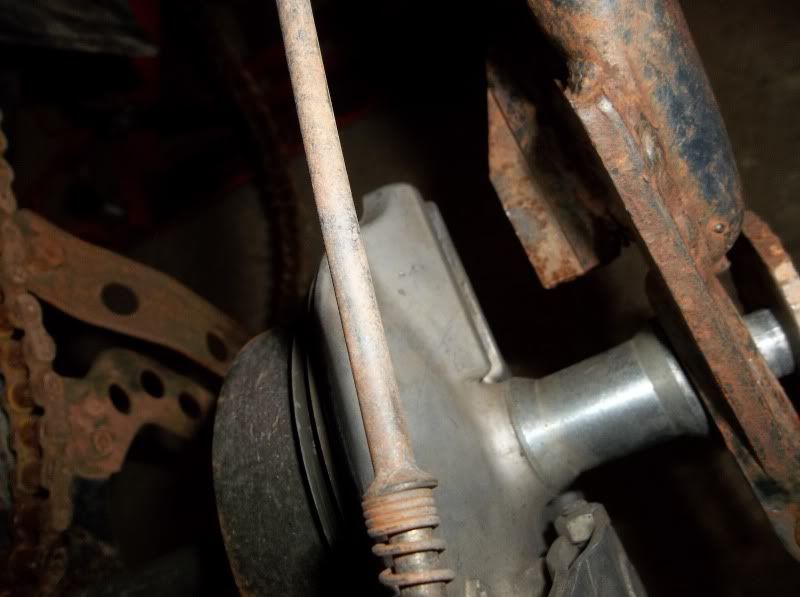 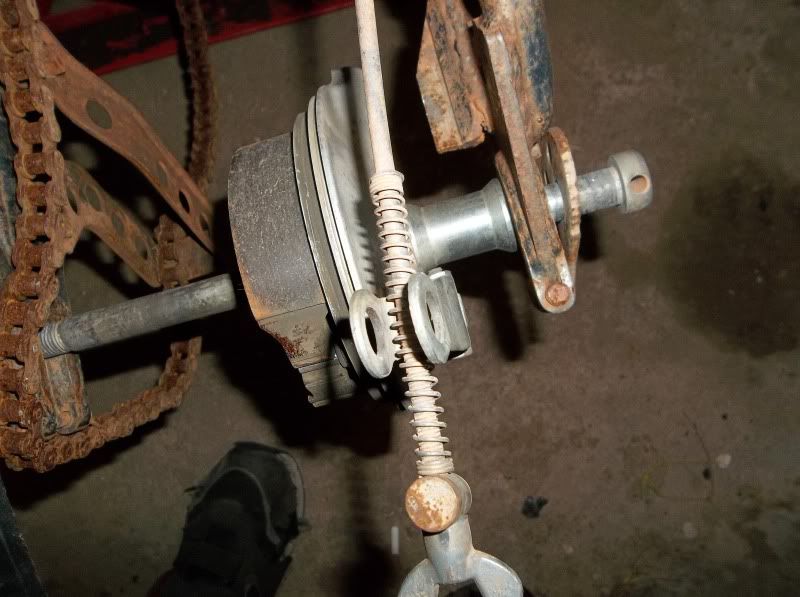 the rear wheel. 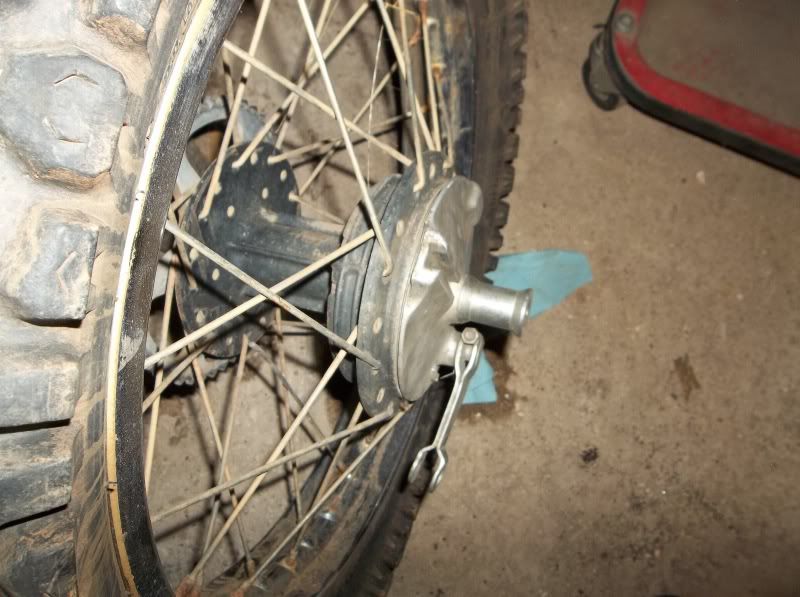 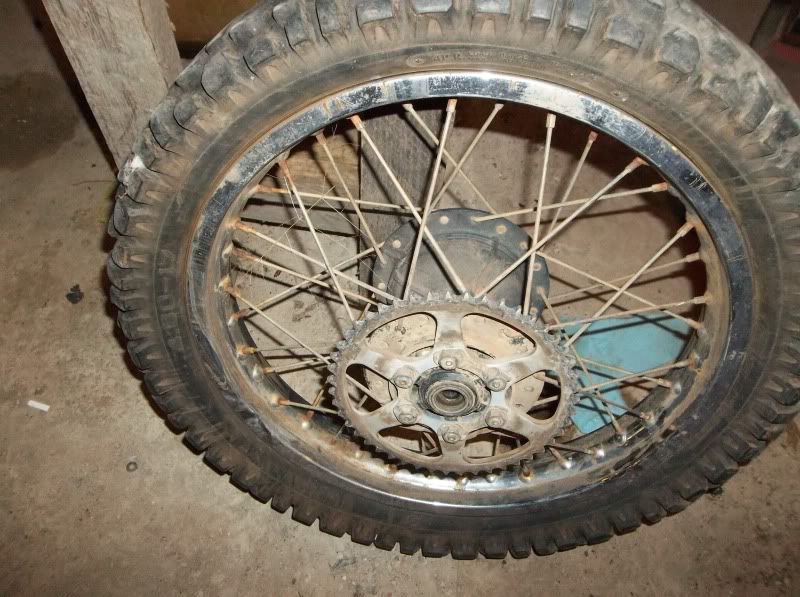
|
|
| Author: | Dave [ Wed Sep 26, 2012 2:22 pm ] |
| Post subject: | Re: 1978 DT175 Rebuild and Restoration. |
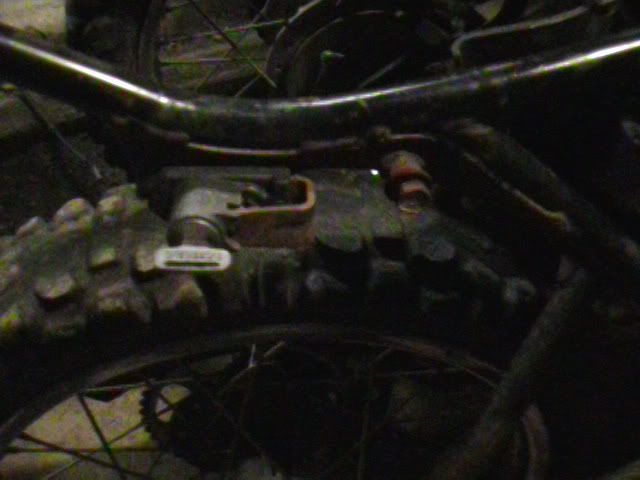
the magneto looks good. 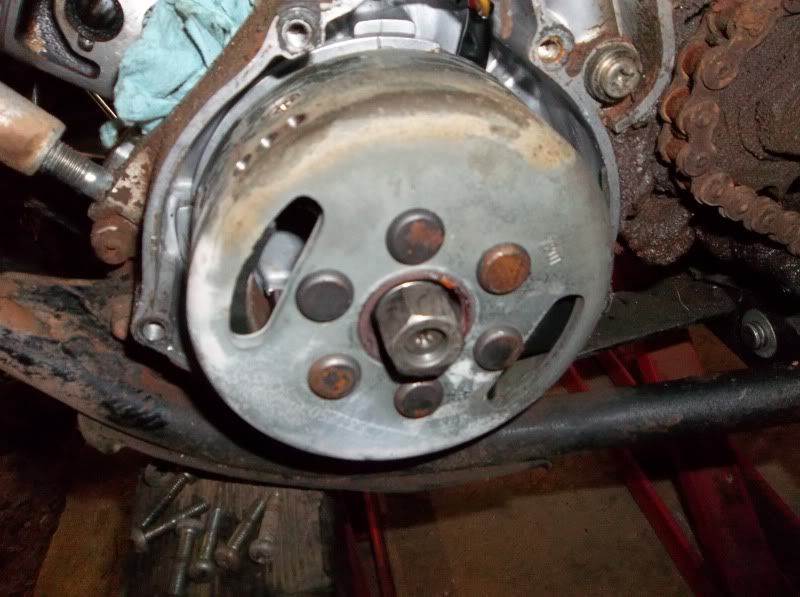 the severely dry rotted front tire. 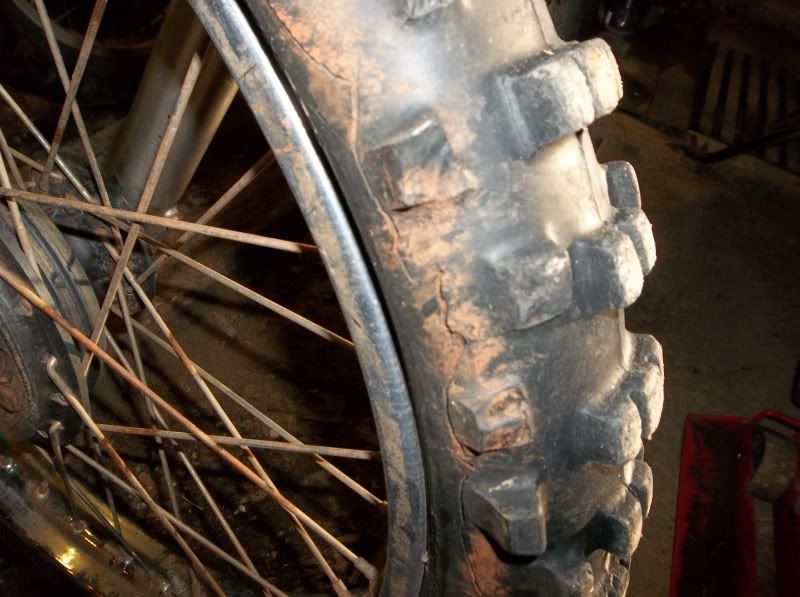 i did a quickie repair to the front oil tank mount with a surplus grommet i had and was surprised it would fit,this is a 1968-71 214 style grommet for a RT1 360 or DT1 250.  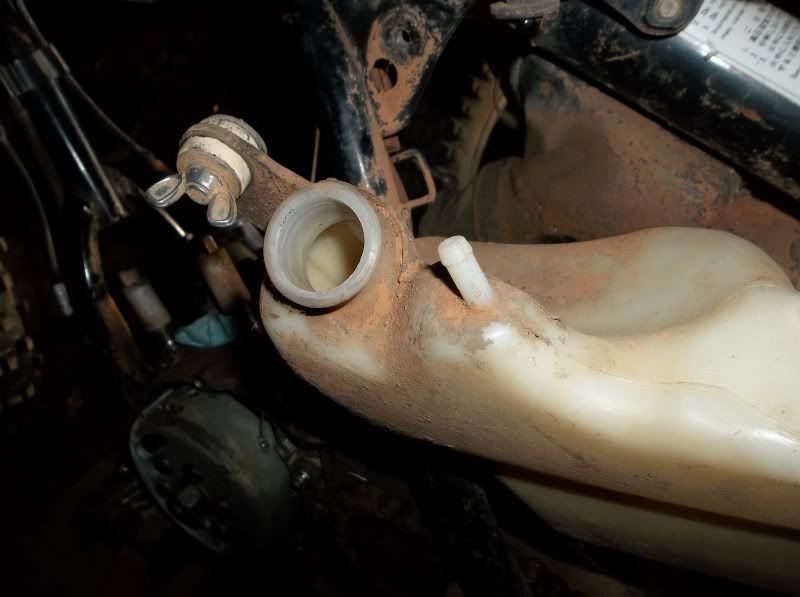 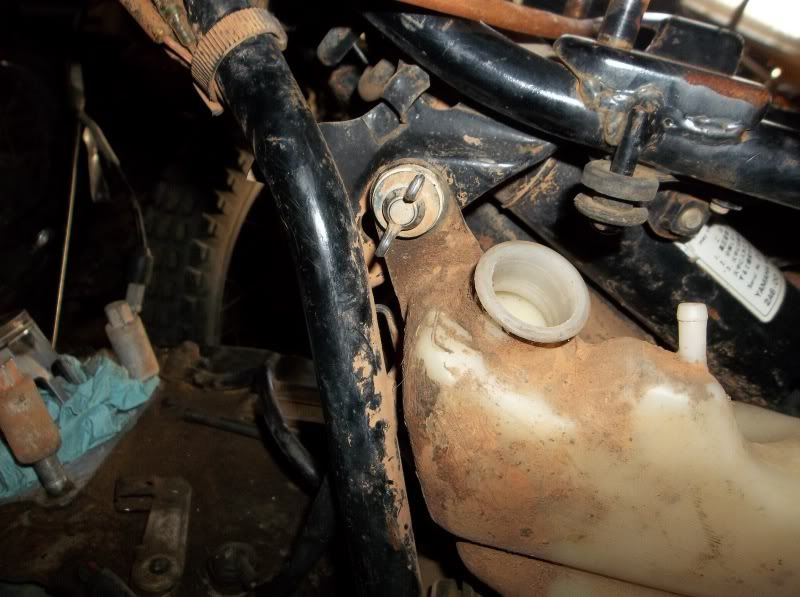
|
|
| Author: | Dave [ Wed Sep 26, 2012 2:28 pm ] |
| Post subject: | Re: 1978 DT175 Rebuild and Restoration. |
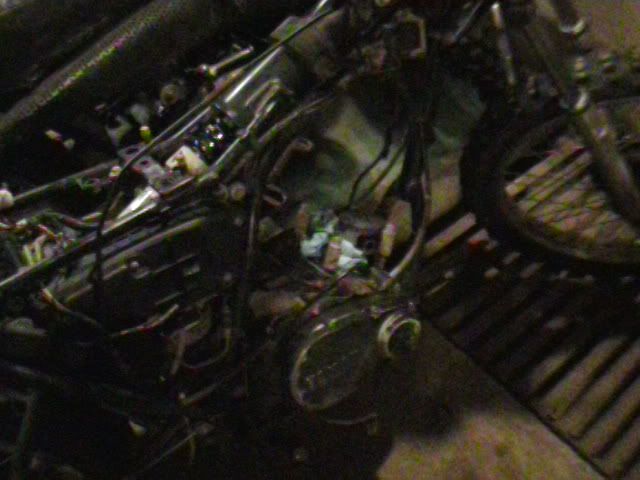
this bike has been around.  i hooked up a battery to do basic electrical checks.  i checked the headlight bulb it came with and it is good,one less item to buy. 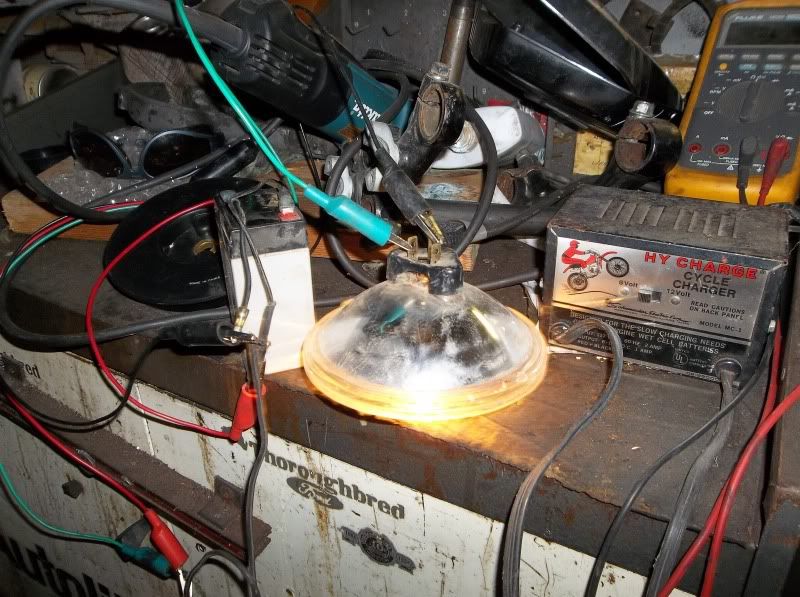 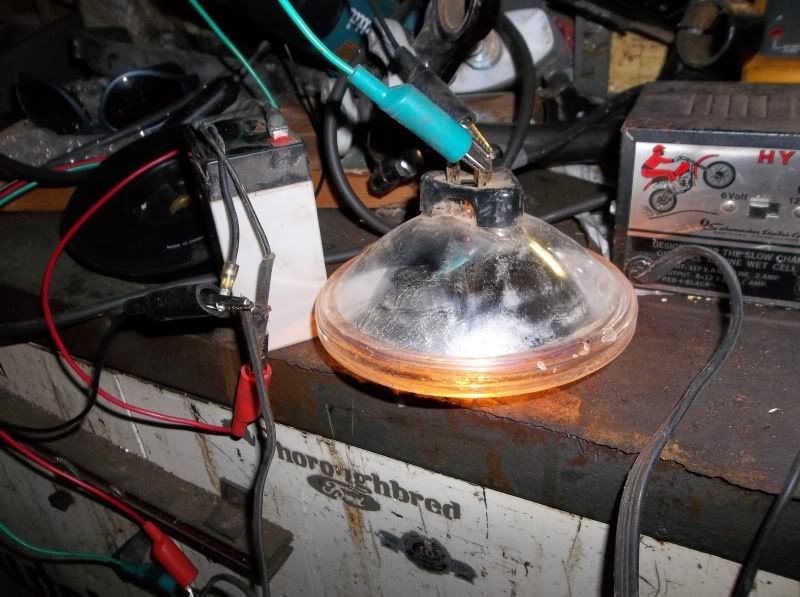 as i dug into the bike i found the usual rigging,like this air cleaner.  the RH side foot peg sheared off. 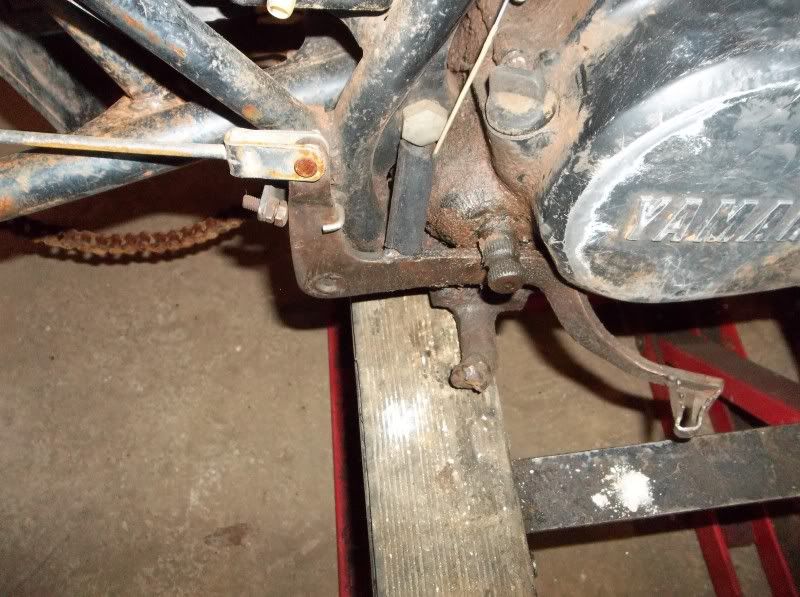
|
|
| Author: | Dave [ Wed Sep 26, 2012 2:36 pm ] |
| Post subject: | Re: 1978 DT175 Rebuild and Restoration. |
the engine has leaked oil out of every joint that was still there. 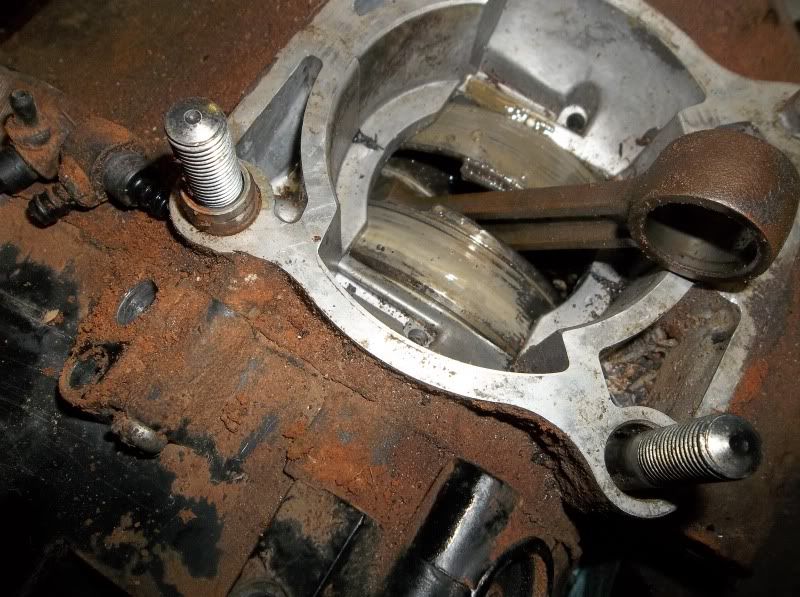 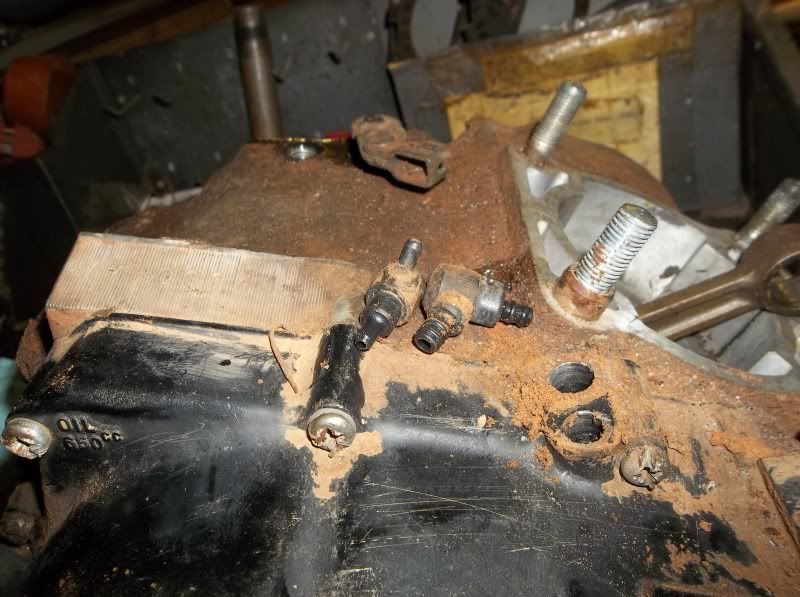 i went ahead and removed the engine for it's rebuild and drained the oil left for teardown. 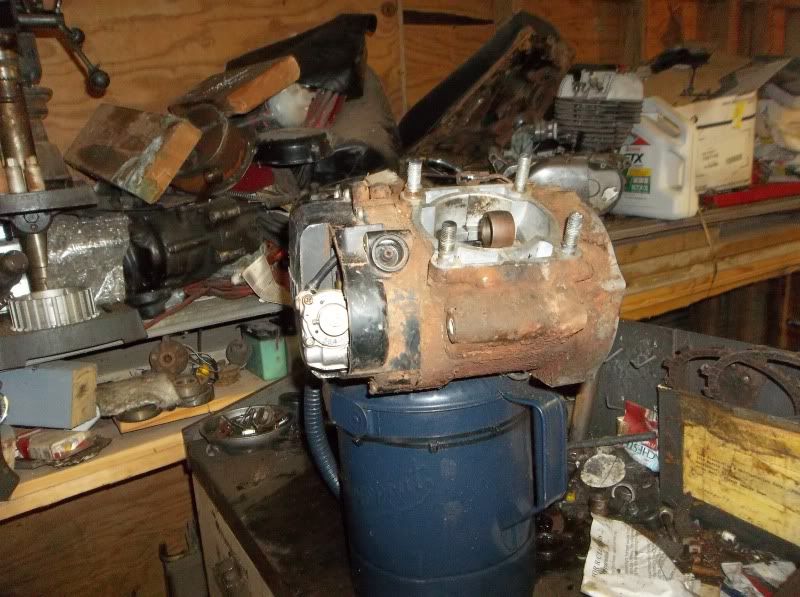 removed the clutch cover. 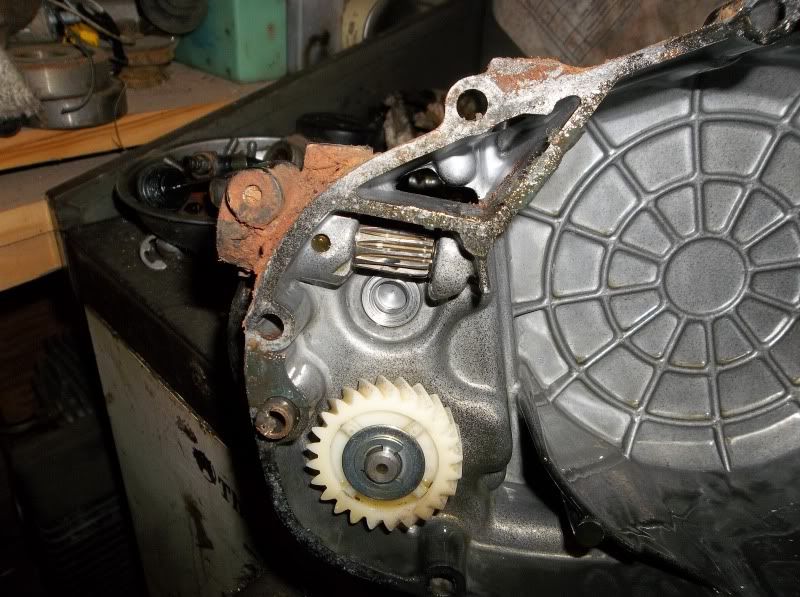 removed the flywheel and this stator. 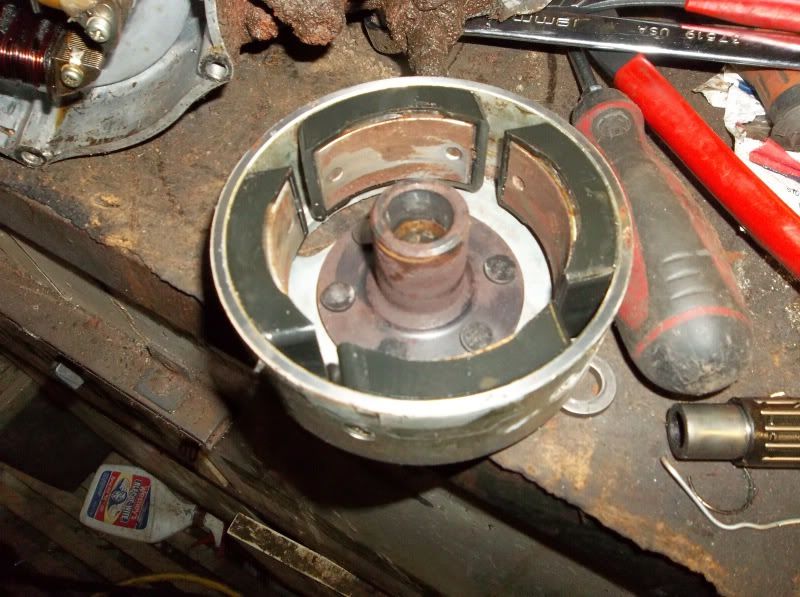 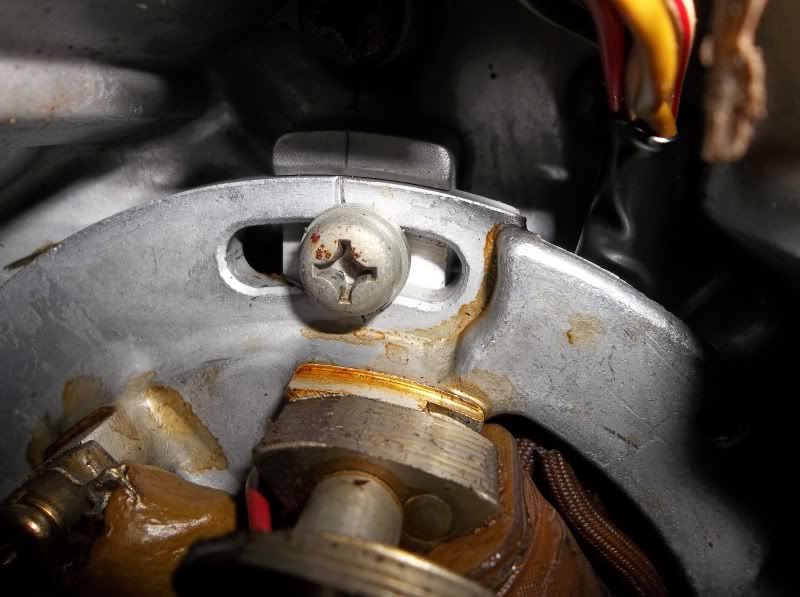
|
|
| Author: | Dave [ Wed Sep 26, 2012 2:39 pm ] |
| Post subject: | Re: 1978 DT175 Rebuild and Restoration. |
the neutral switch wire must be disconnected when removing the stator on one of these. 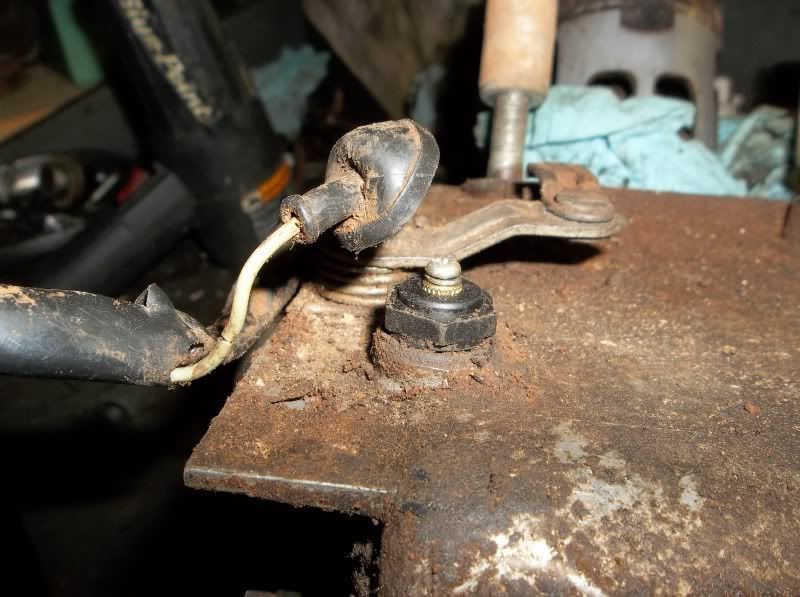 now to commence tear down. here i am removing the clutch. 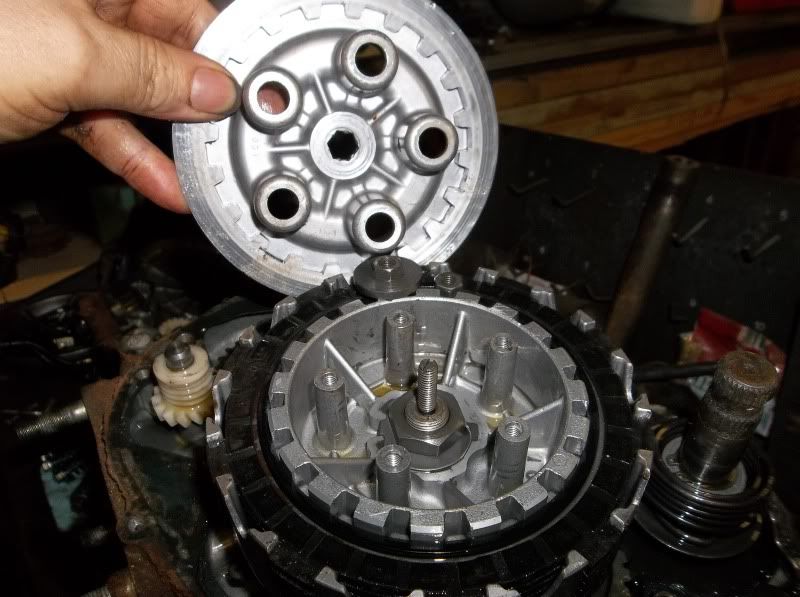 with the clutch out of the way we can see what caused this engine to fail and the bike ended up originally parted out some. 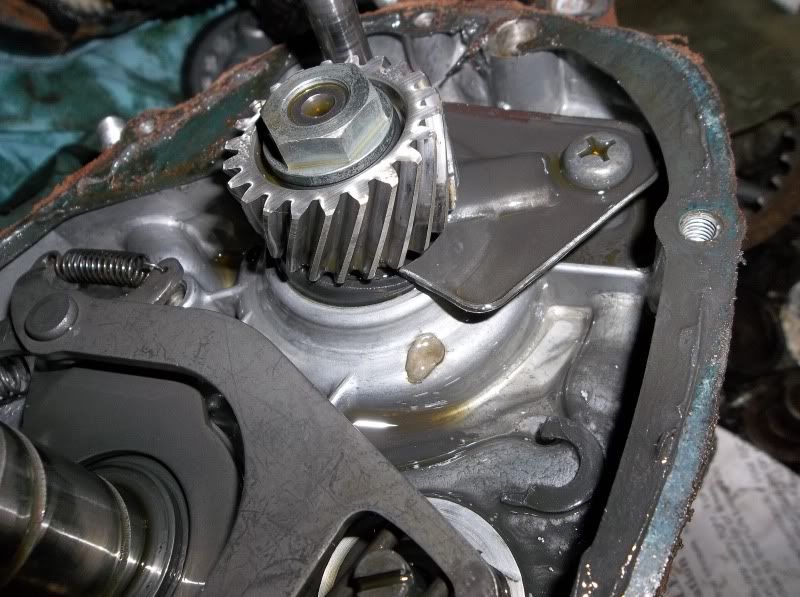 it blew this crankshaft seal. it blew this crankshaft seal.the shifting mechanism looks fine. 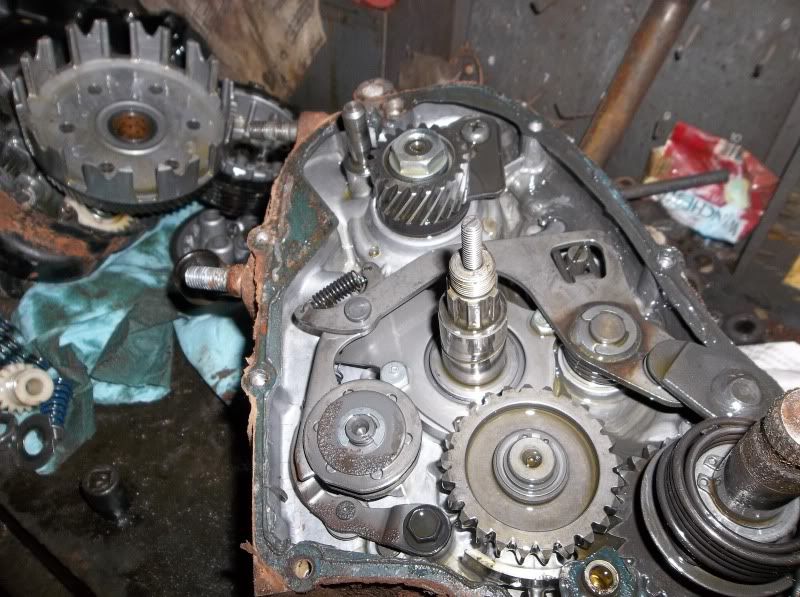 here i removed the primary crankshaft gear. 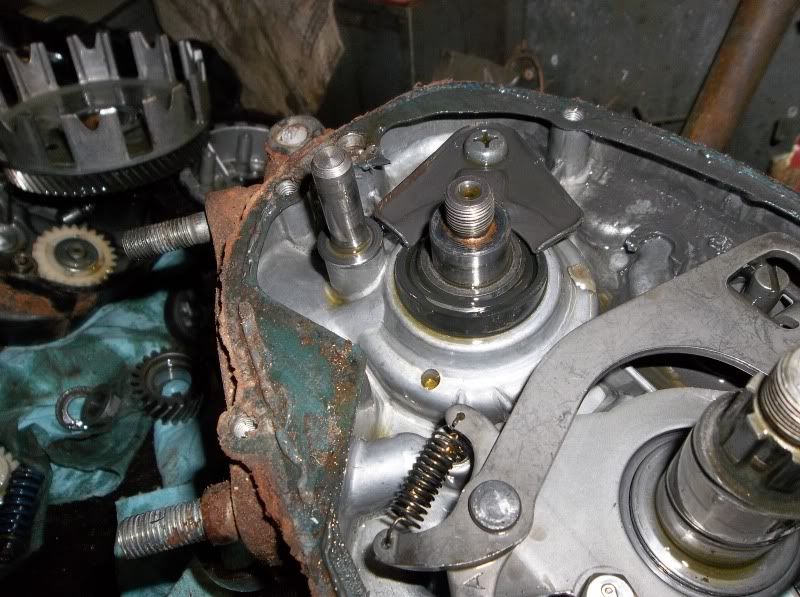 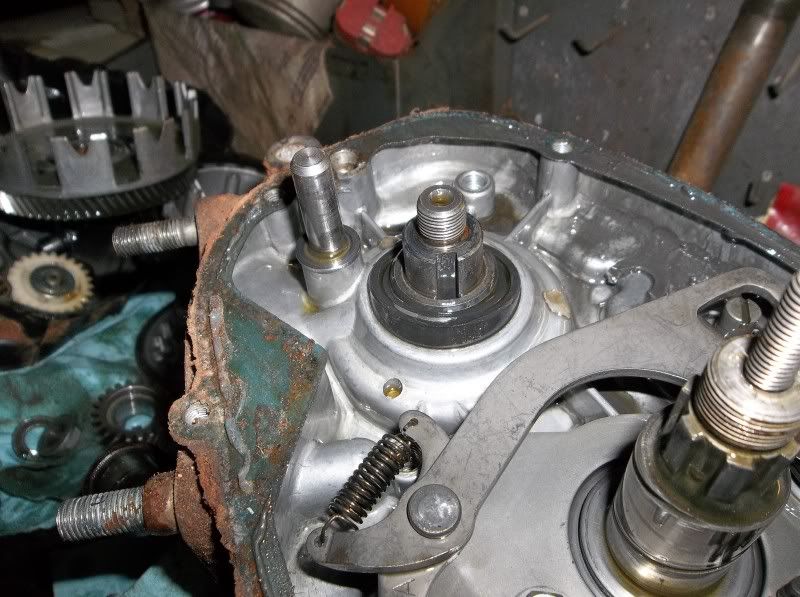
|
|
| Author: | Dave [ Wed Sep 26, 2012 2:58 pm ] |
| Post subject: | Re: 1978 DT175 Rebuild and Restoration. |
i split the cases,i am replacing the main bearings in this engine due to all the dirt it ingested. 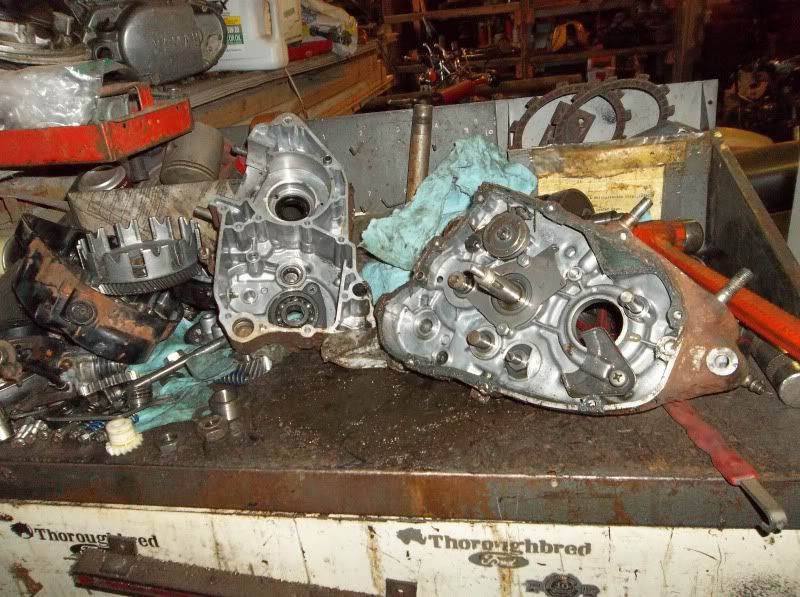 amazingly enough the crankshaft is fine itself. 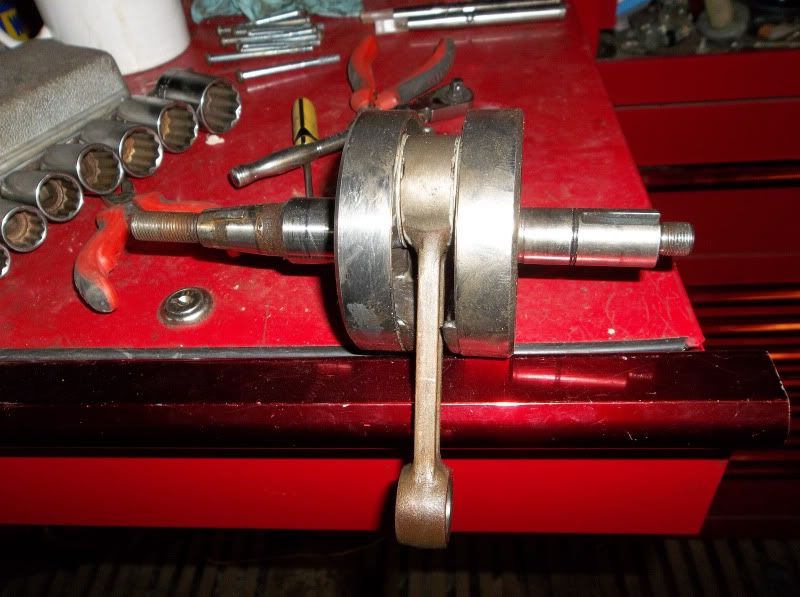 exploded view of the engine parts,this is from Yamaha for the 1978 DT175. 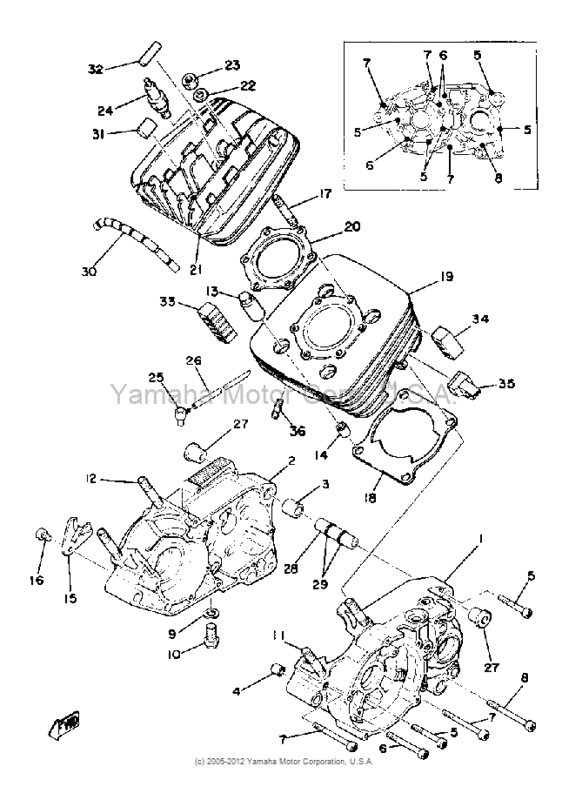 here is some pics of the new parts to assemble the lower end. the seals,it came as a complete kit. 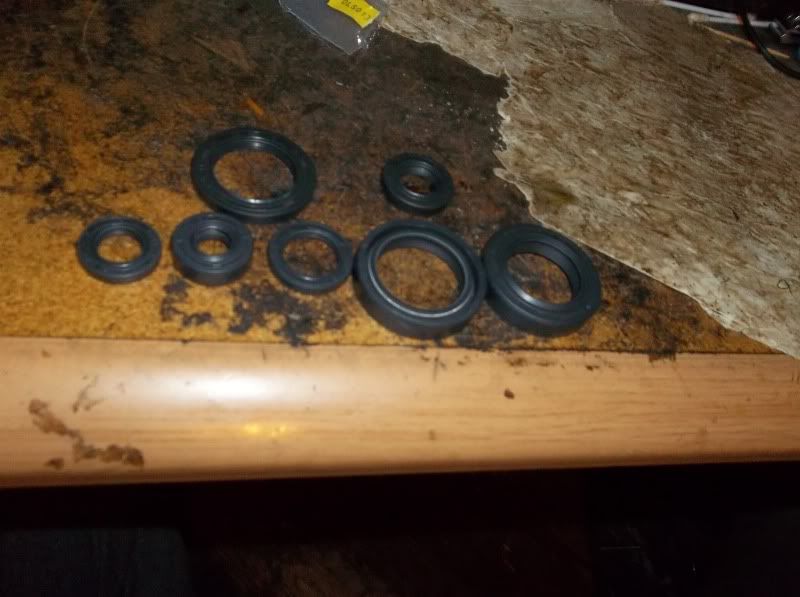 gasket kit. 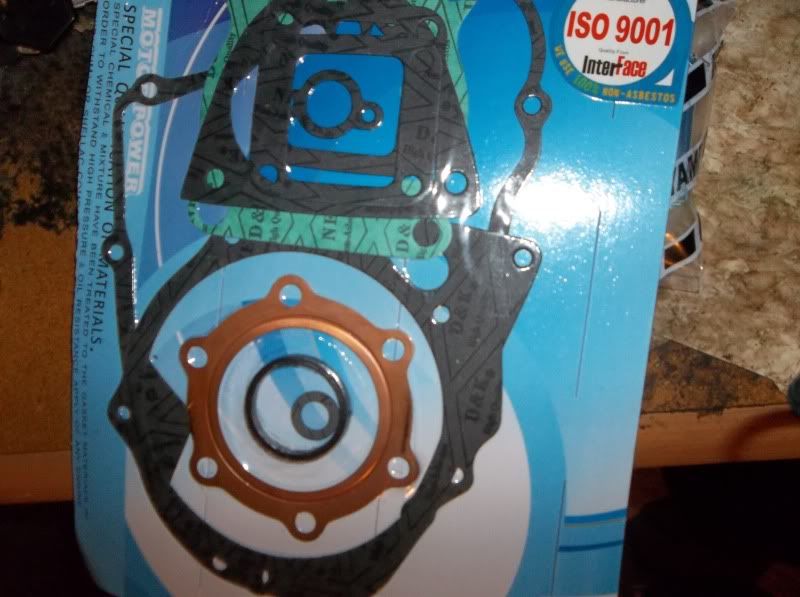 the parts lot,also i got new main bearings.  the bearings with the new wrist pin bearing in view. 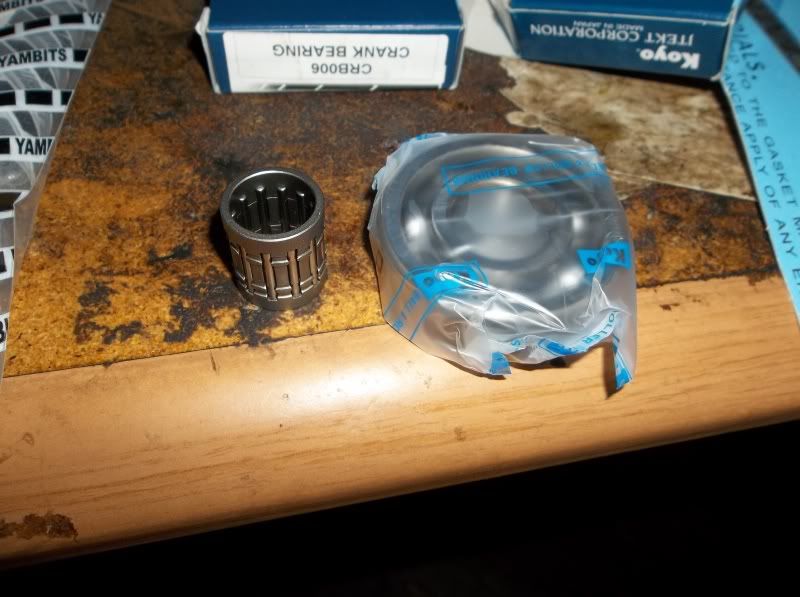 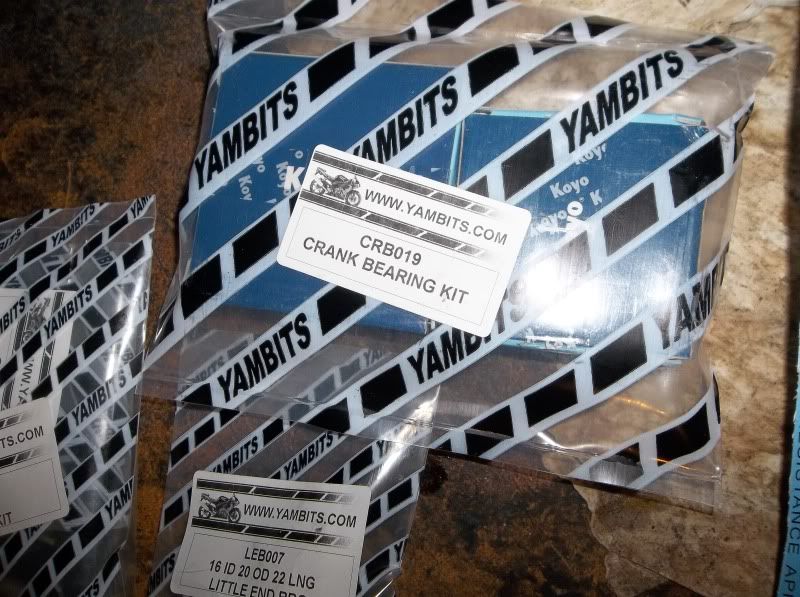
|
|
| Author: | Dave [ Wed Sep 26, 2012 3:03 pm ] |
| Post subject: | Re: 1978 DT175 Rebuild and Restoration. |
 now to install the crankshaft. 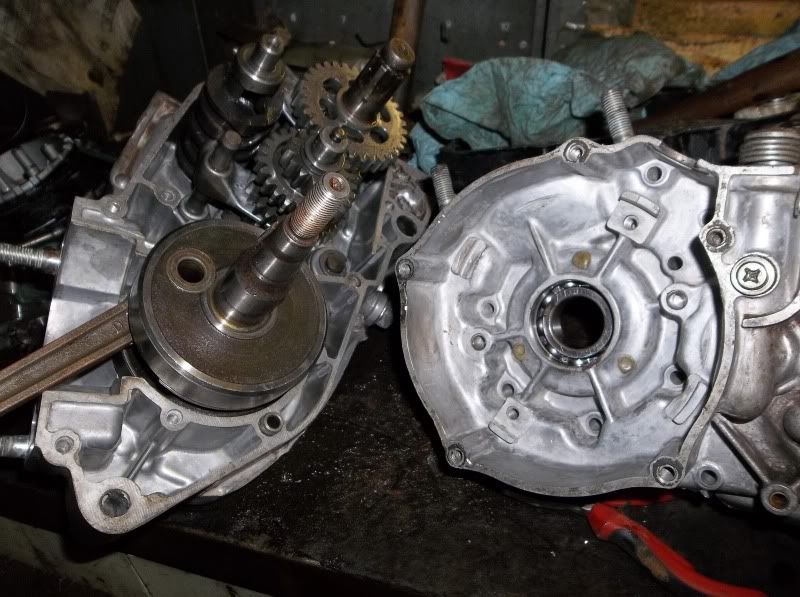 i assembled the cases with Yamabond 5. now to install the seals and gaskets,this is the clutch lever seal. 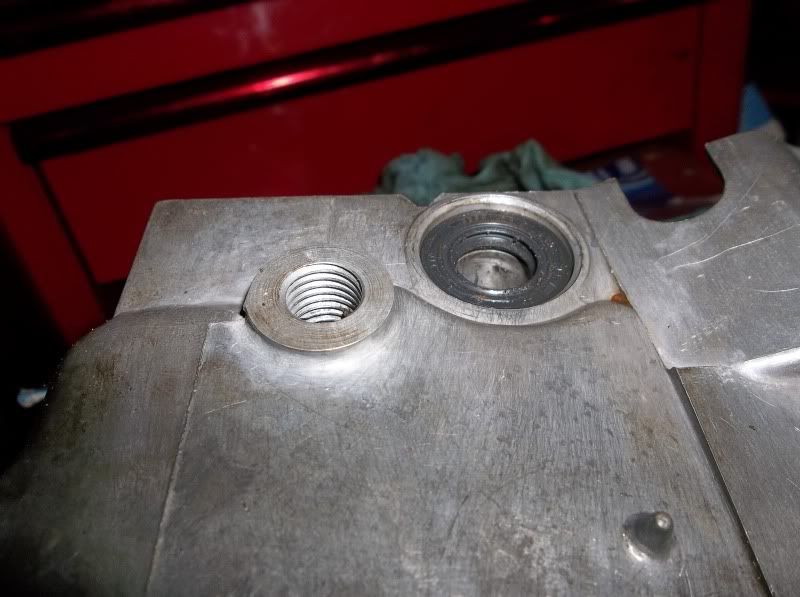 new and old seals side by side for the clutch. 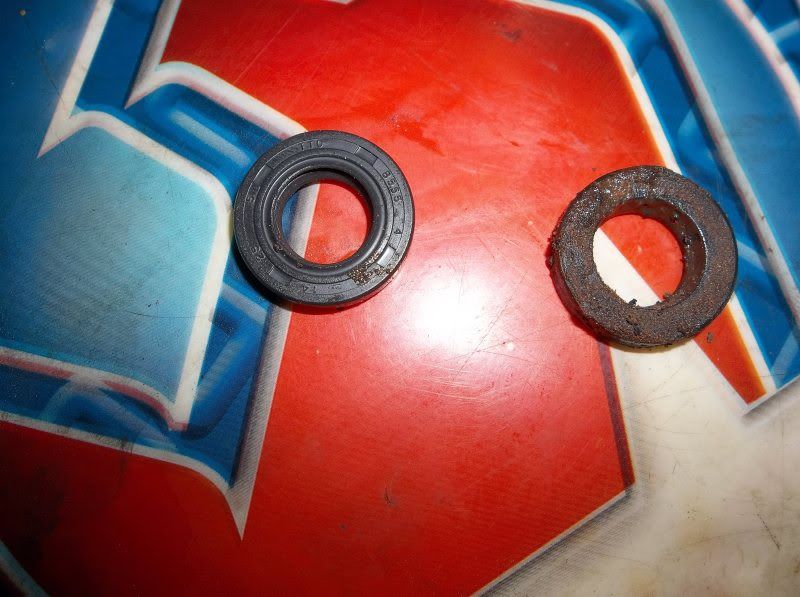 to install this shifter part the transmission should be in neutral.then install this roll pin. 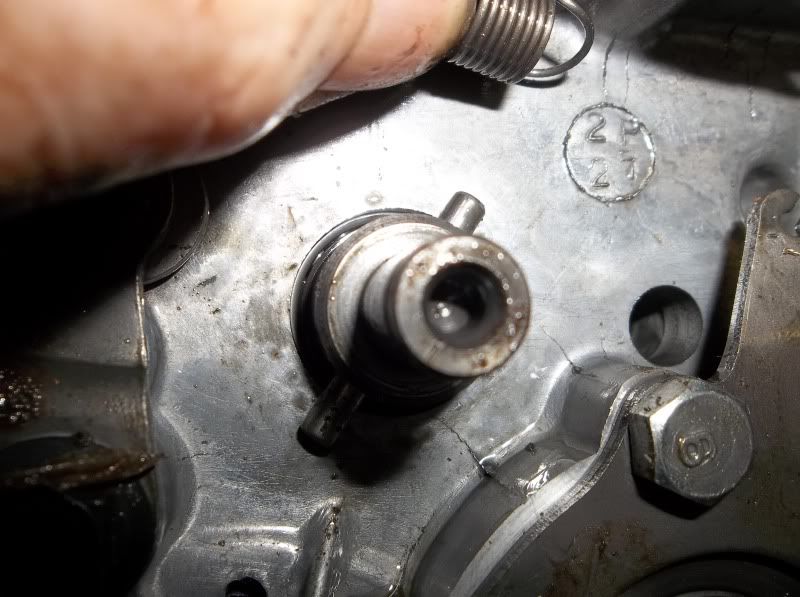
|
|
| Author: | Dave [ Wed Sep 26, 2012 3:08 pm ] |
| Post subject: | Re: 1978 DT175 Rebuild and Restoration. |
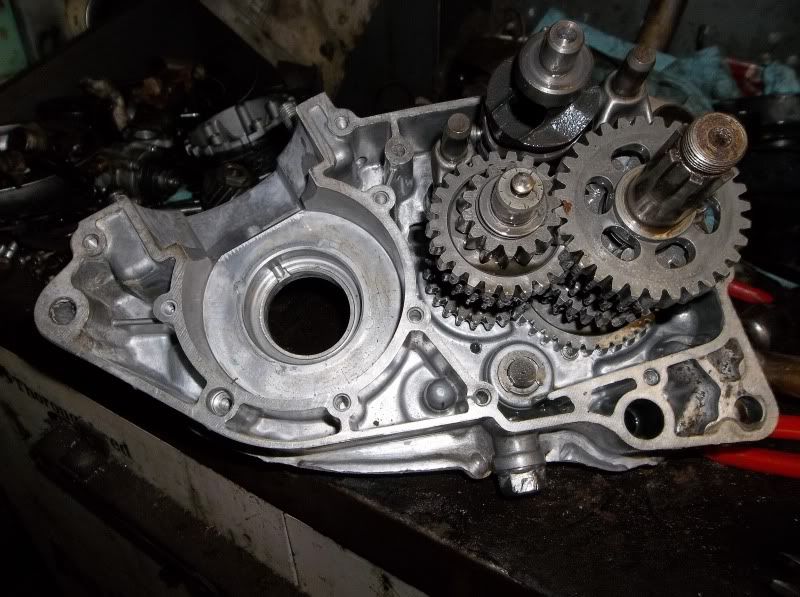
then this part of the shift drum,align the deep concave part with the stop. 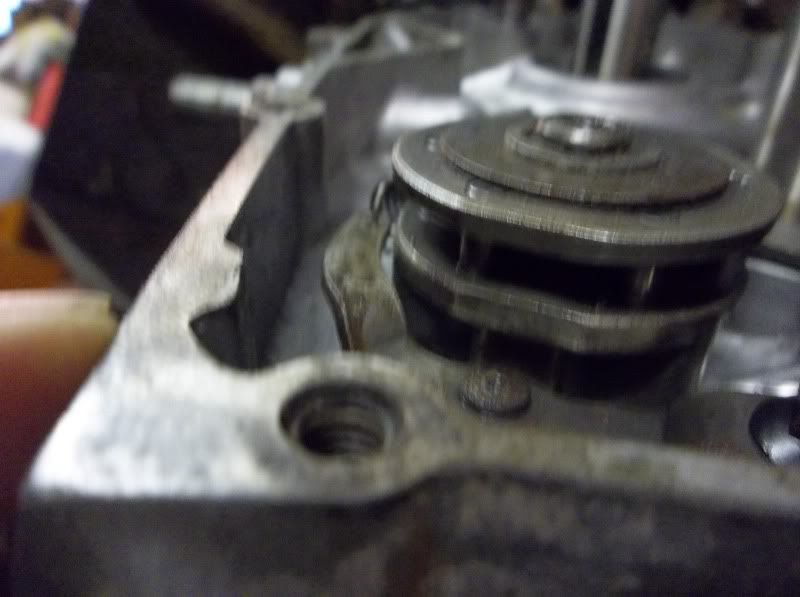 then install this stop and cir clip on the shift drum. 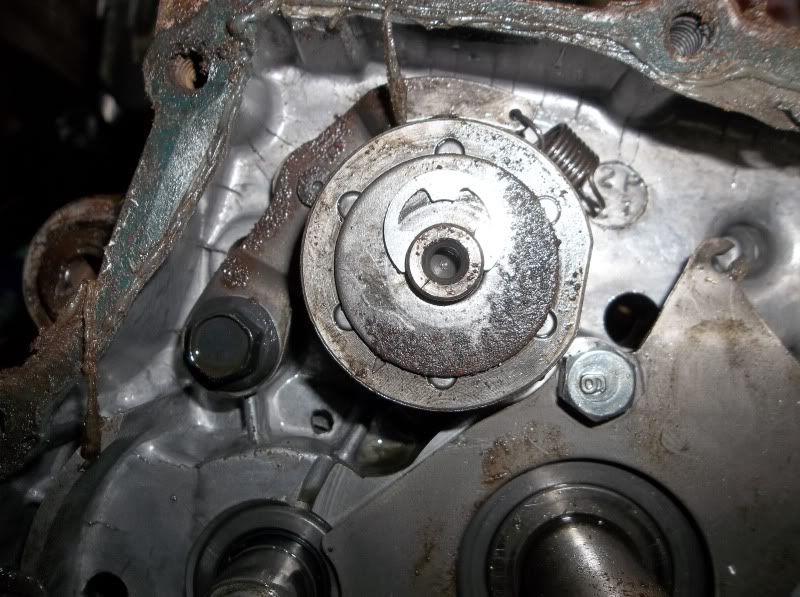 these show the idler gear installed. 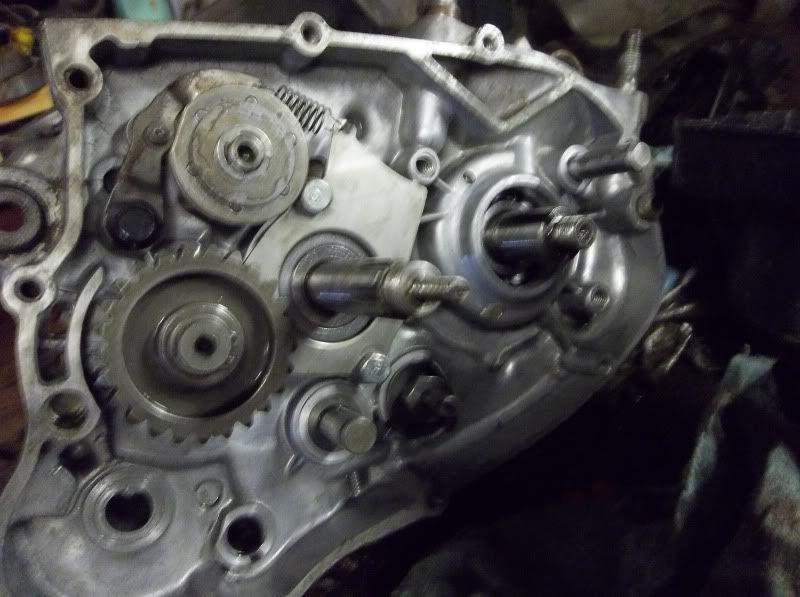 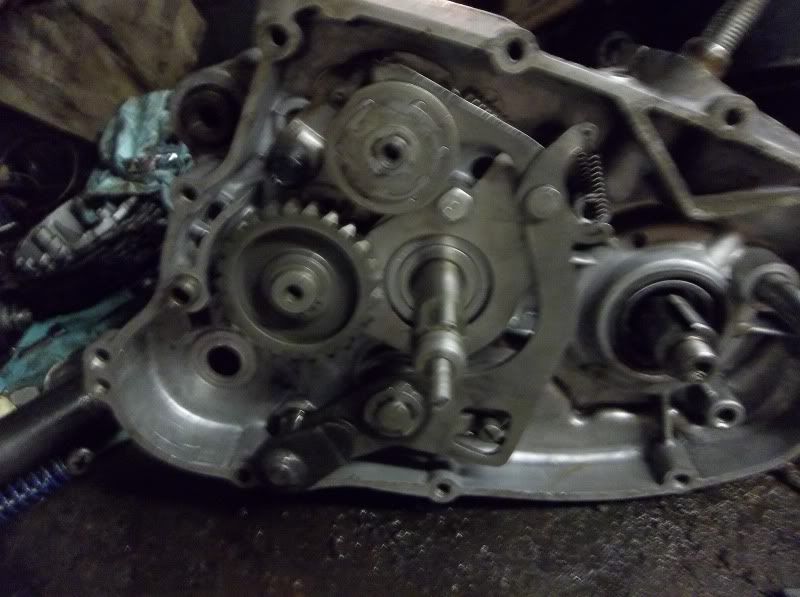 the clutch pushrod due to the oil being low was fused together,the 2 rods and ball bearing are 3 separate parts normally. i double nutted one of the shafts and separated them,it turned out to be a total loss with nothing that can be salvaged. 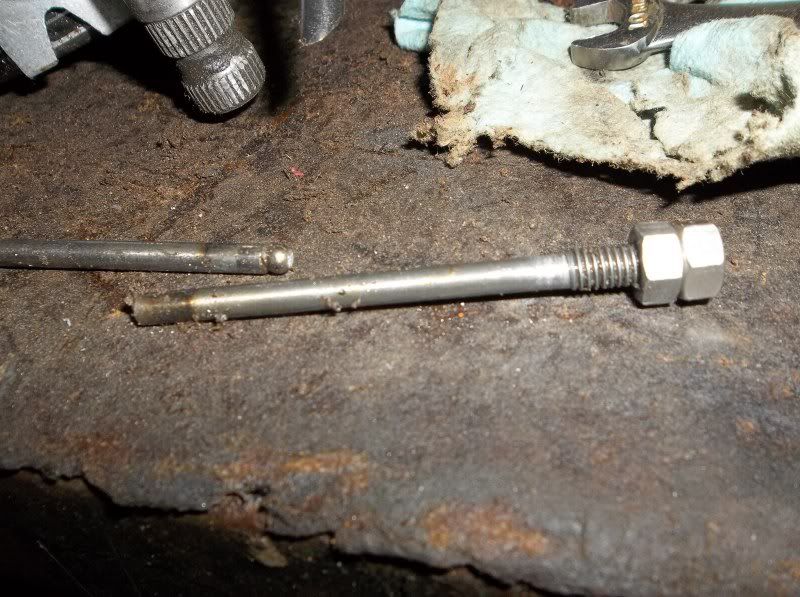 i got new pushrods and a new ball bearing,here you can see the revision in this part 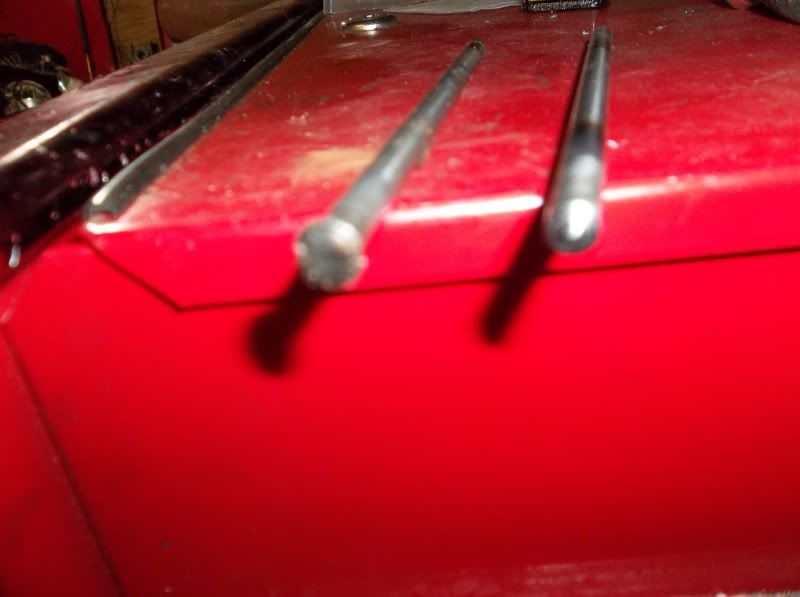 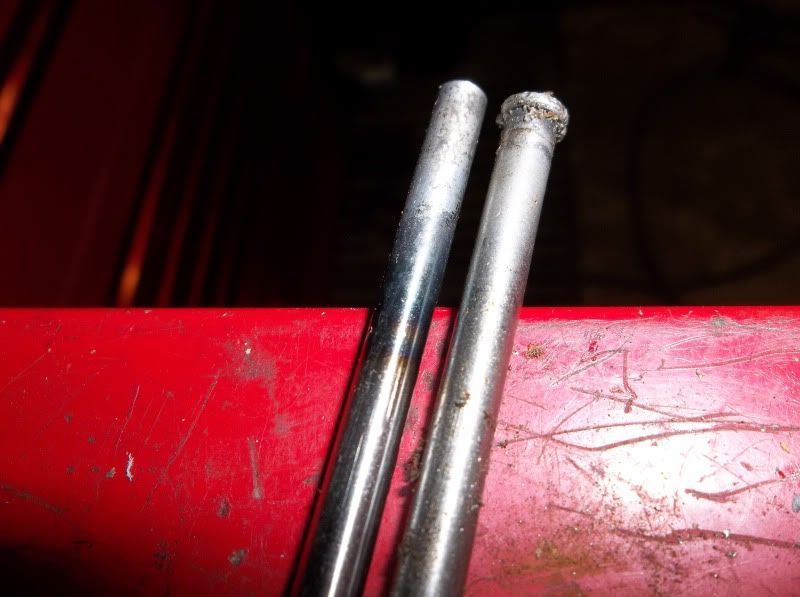
|
|
| Author: | Dave [ Wed Sep 26, 2012 3:25 pm ] |
| Post subject: | Re: 1978 DT175 Rebuild and Restoration. |
first this push rod is to be installed with the pointy end towards the clutch actuator. 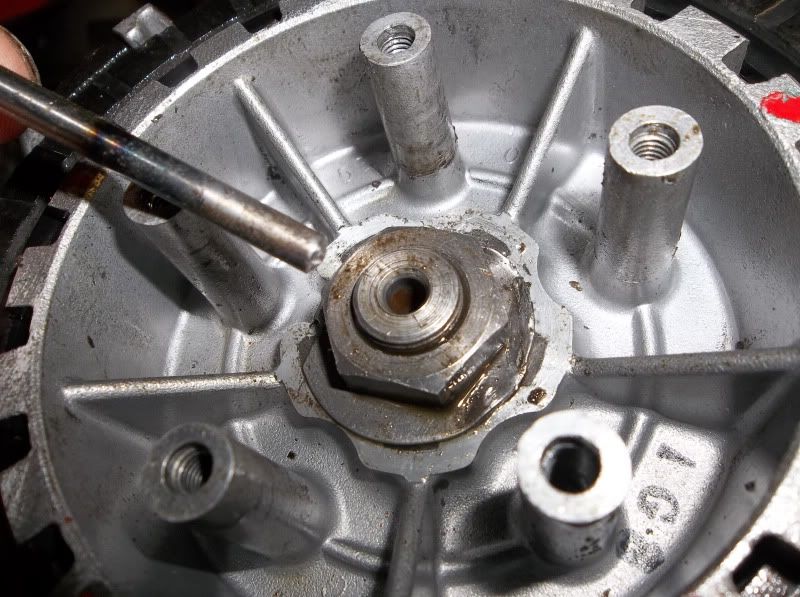 followed by the ball bearing. 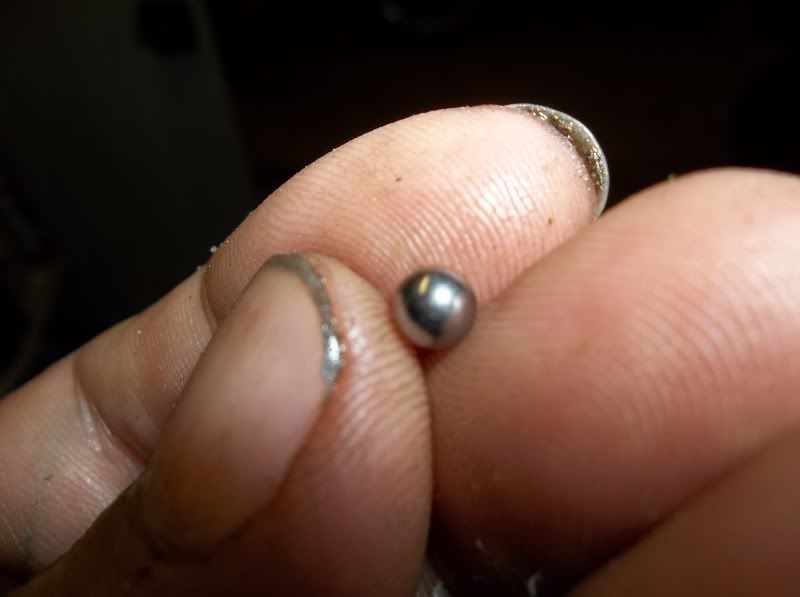 then the last push rod. 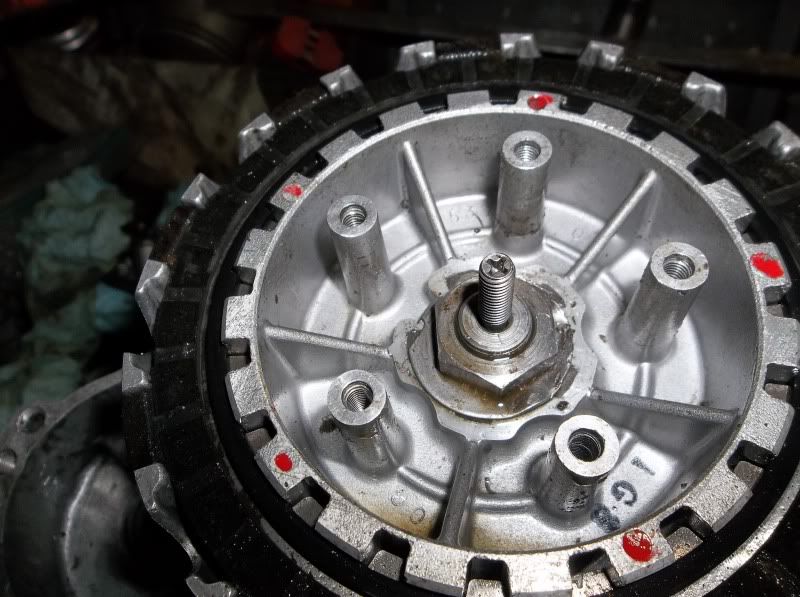 i measured the plates and they were all within spec,spec is 3.0 mm and these checked in at 2.9 at the thinnest point on all the plates. 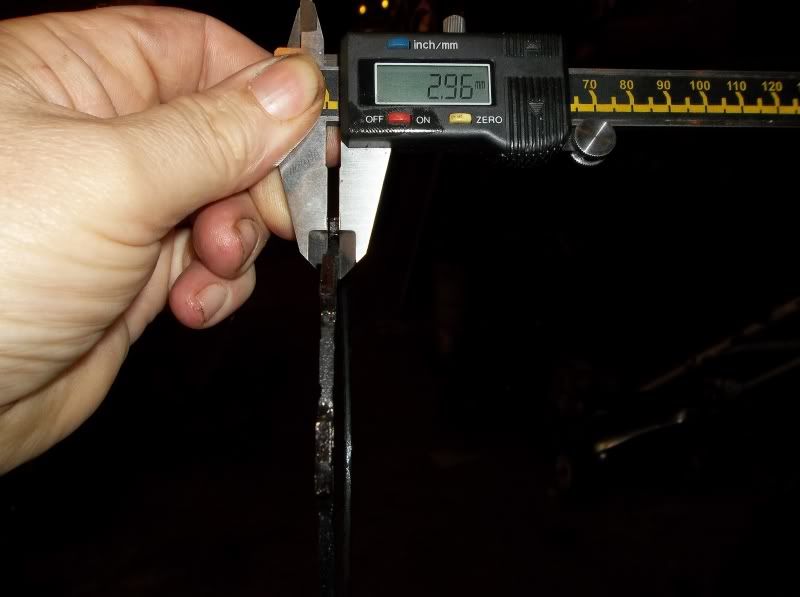 yes i did fold in the locking tab to the nut,i get caught up too much sometimes to take a pic of some things. there is a specific way to assemble the clutch and was done according to this TSB from Yamaha. 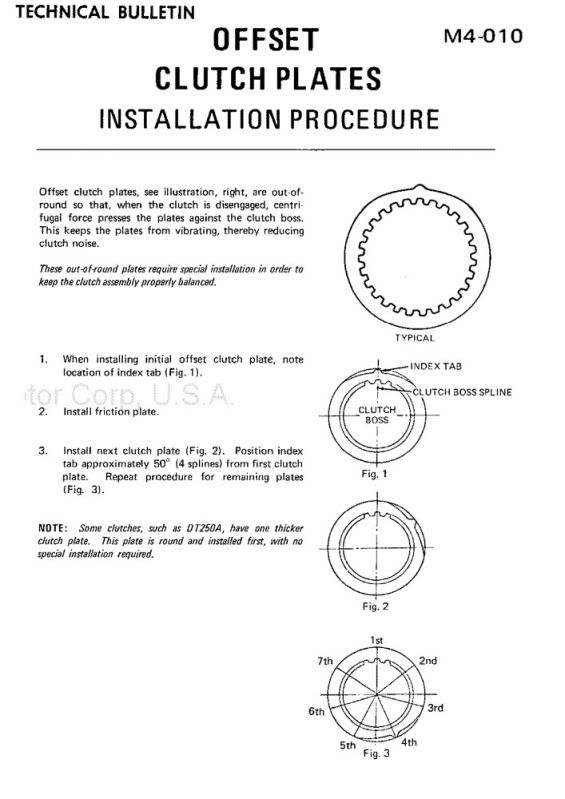 i marked the clutch hub to make this easier,you align the thinner top portion of the steel plates with these marks i made with red paint. then i assembled the clutch.i got new springs to use. 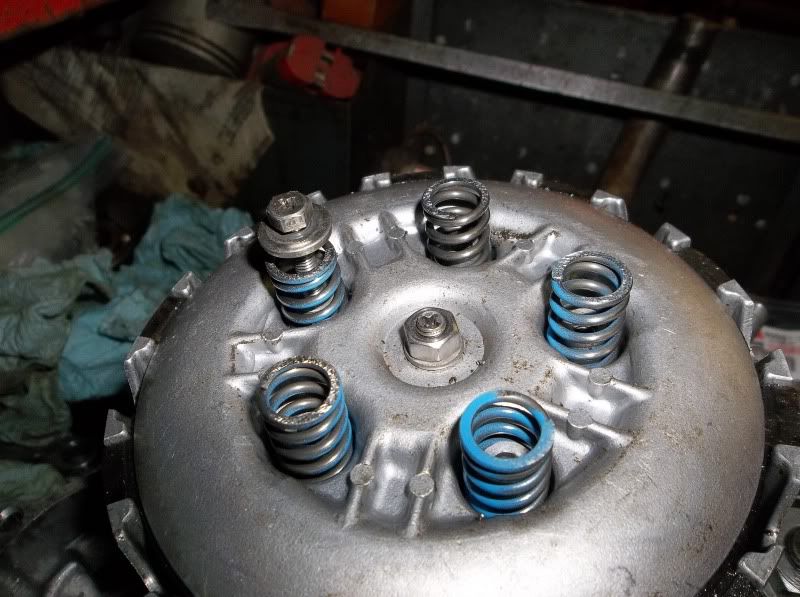
|
|
| Author: | Dave [ Wed Sep 26, 2012 3:52 pm ] |
| Post subject: | Re: 1978 DT175 Rebuild and Restoration. |
the end of the kickstart spring goes into this pocket in the cases. 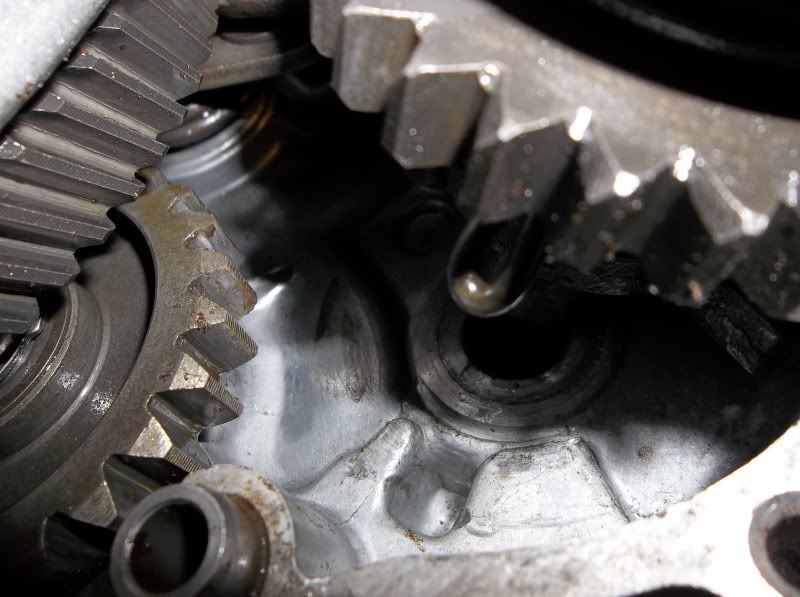 just like a 73-76 250 Elsinore there is a cast point on the case that aligns with the arrow point end of the clutch release lever. 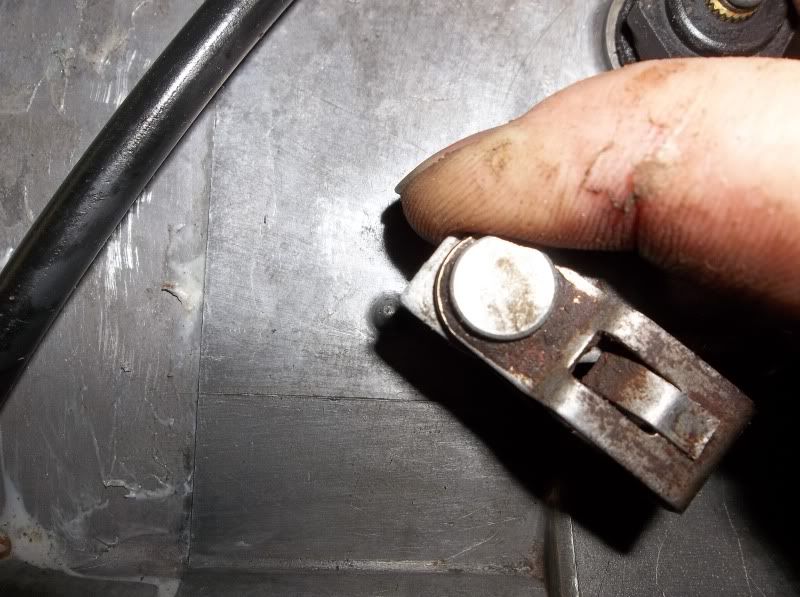 new gasket and the neutral indicator switch gets installed. 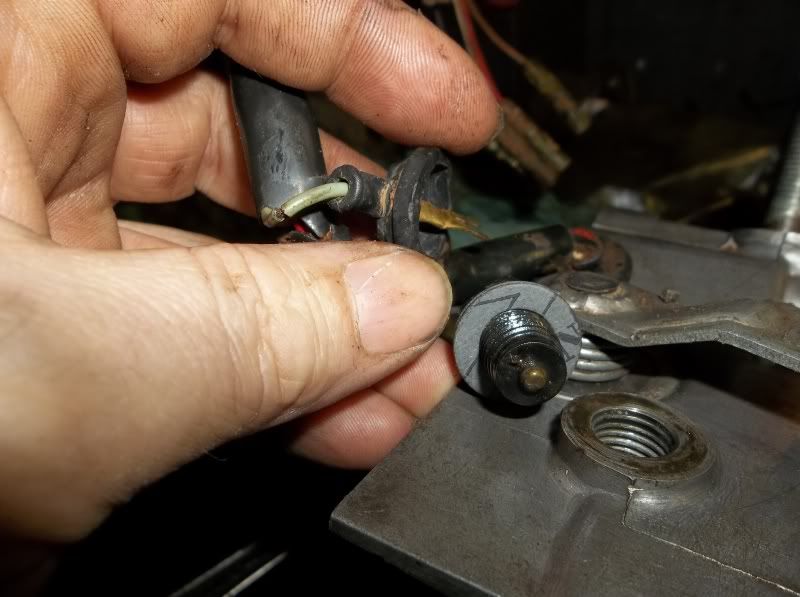 reinstalled the clutch cover 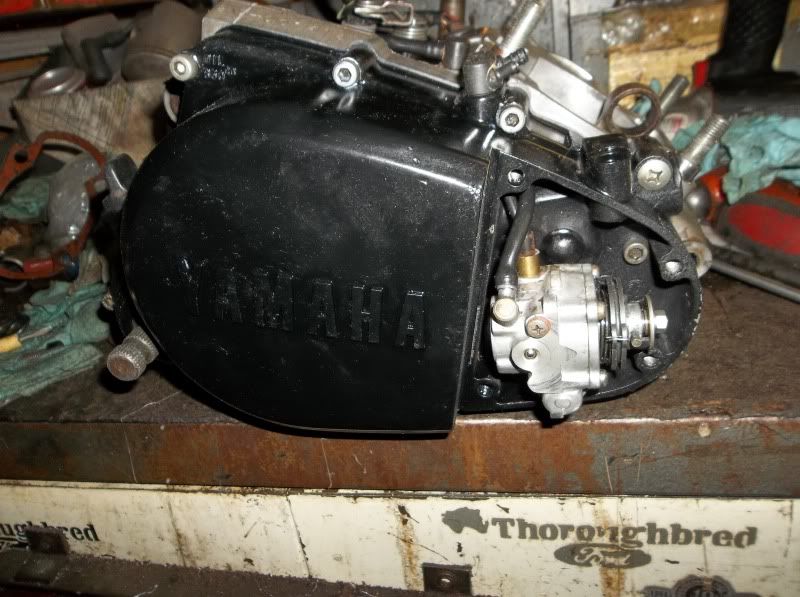 now it is ready for the top end installation. 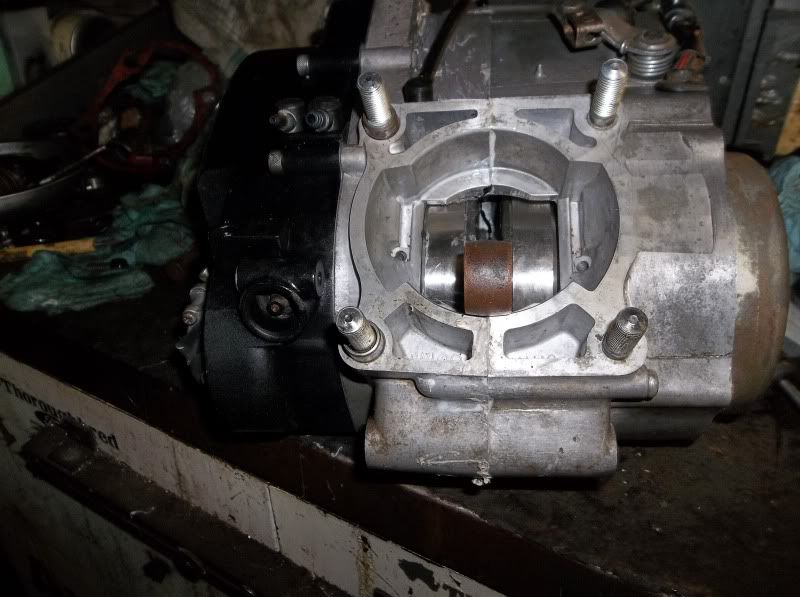 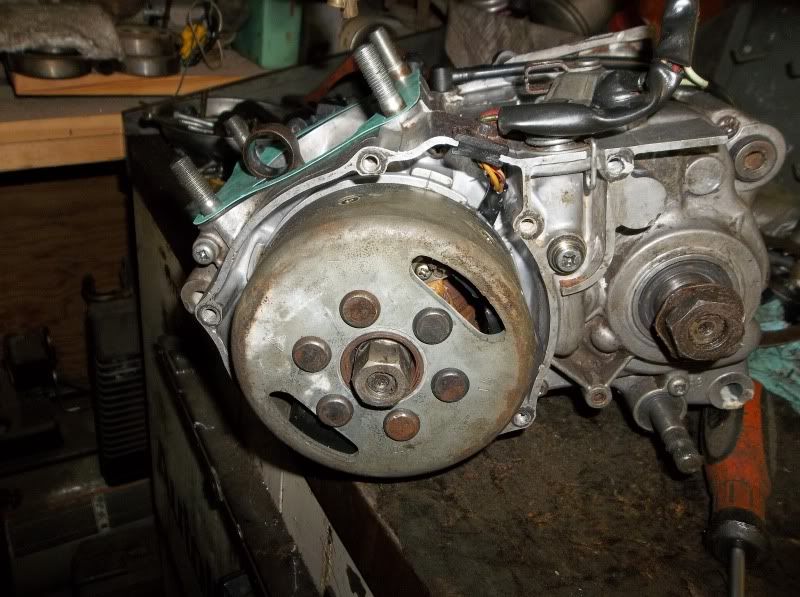
|
|
| Author: | Dave [ Wed Sep 26, 2012 4:03 pm ] |
| Post subject: | Re: 1978 DT175 Rebuild and Restoration. |
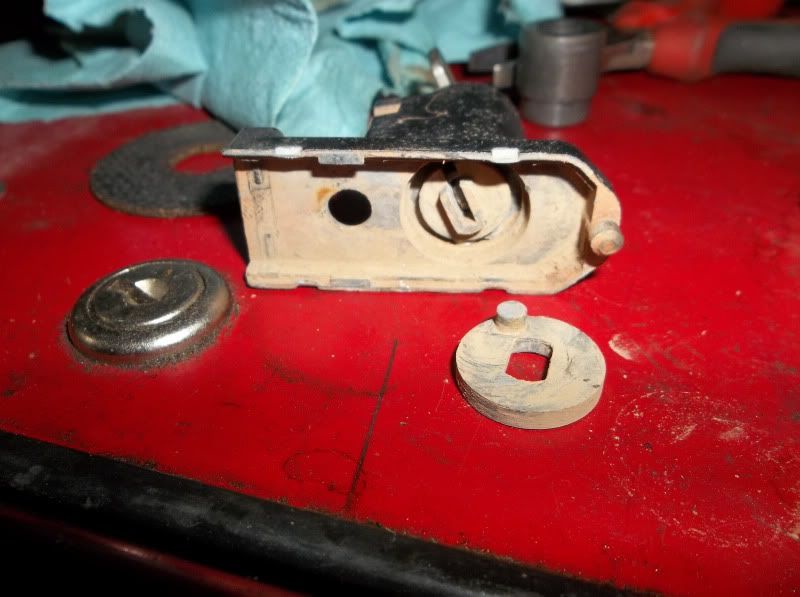
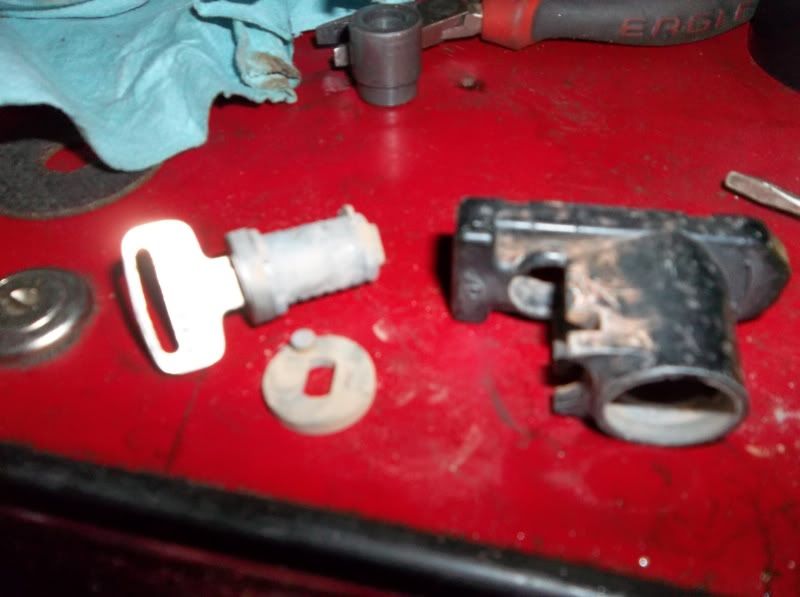
now to turn to the frame. first we got to address the sheared off foot peg mount. i ground this to a flat area. 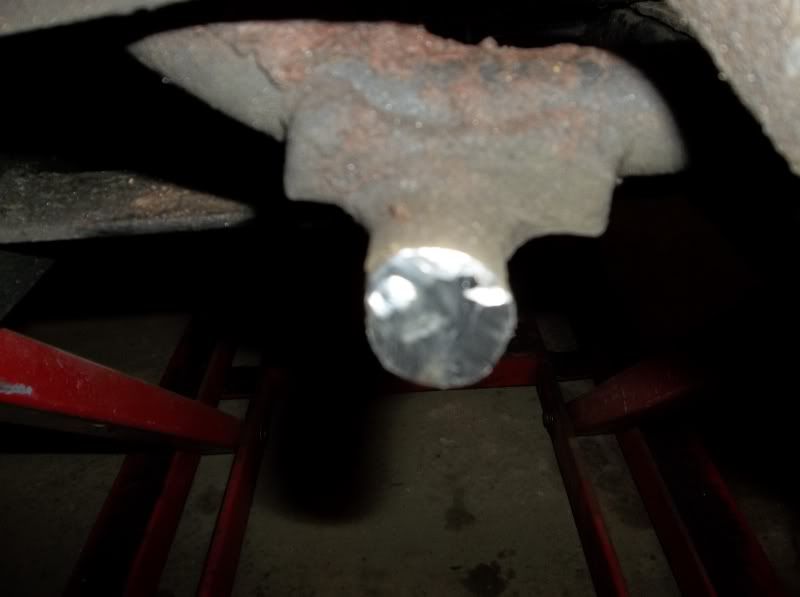 i got a scrap DT1/RT1 foot peg and trimmed it to fit and mocked it up on the frame. 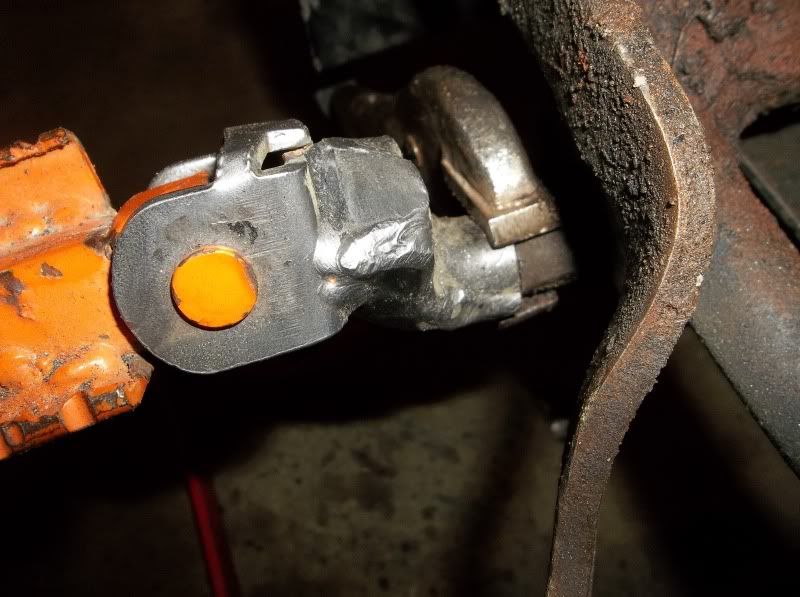 then i welded the part on to the frame,because the mount on the frame is cast iron and the peg mount is mild steel i had to do this carefully.it requires lots of heat to weld and make it stick so i welded with the gas torch cranked up. 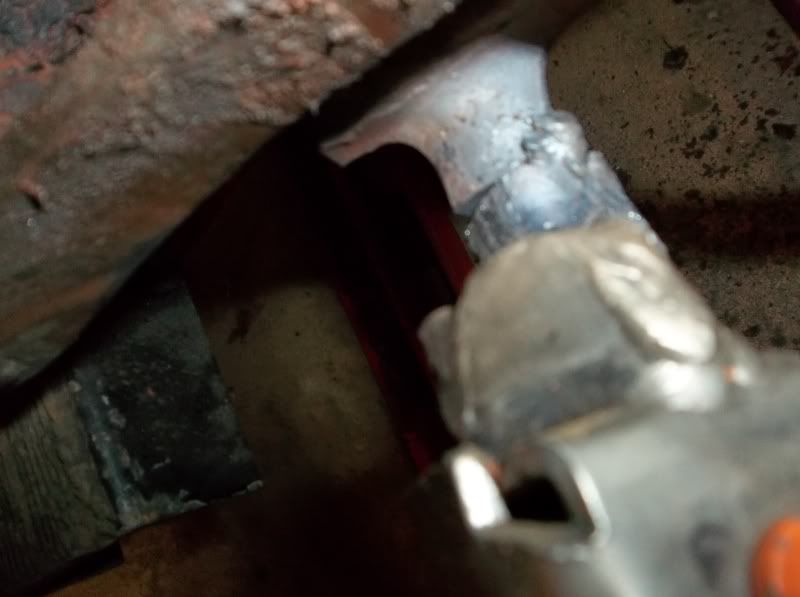 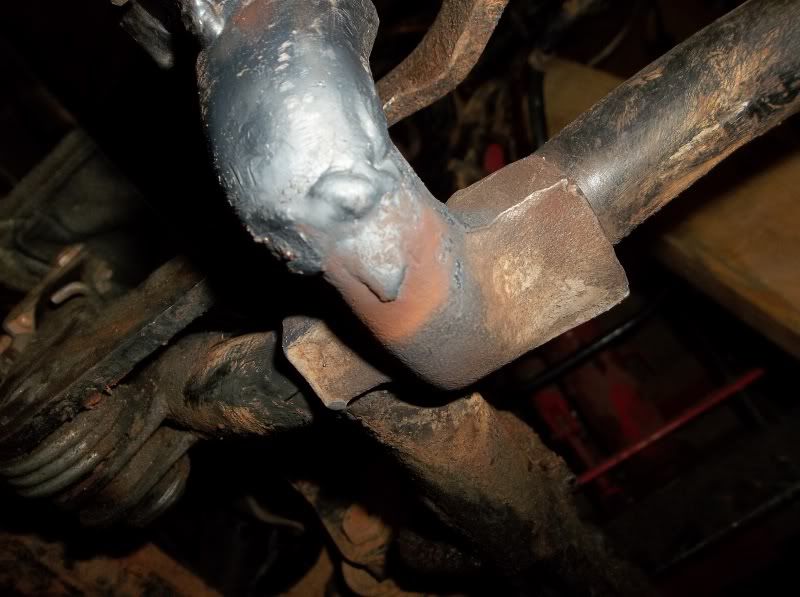 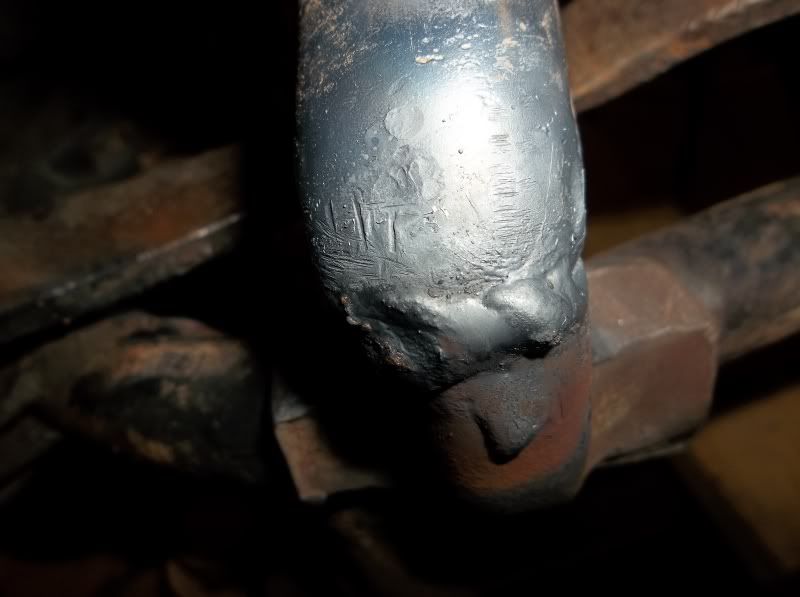 once the welding was complete i started to strip off the parts to repaint the frame.i removed the brake lever to weld the upper part of the peg mount.  the helmet lock gets taken apart and repainted and to polish the chrome back out. 
|
|
| Author: | Dave [ Wed Sep 26, 2012 4:09 pm ] |
| Post subject: | Re: 1978 DT175 Rebuild and Restoration. |
   now the main body has been repainted the assembly can go forward.  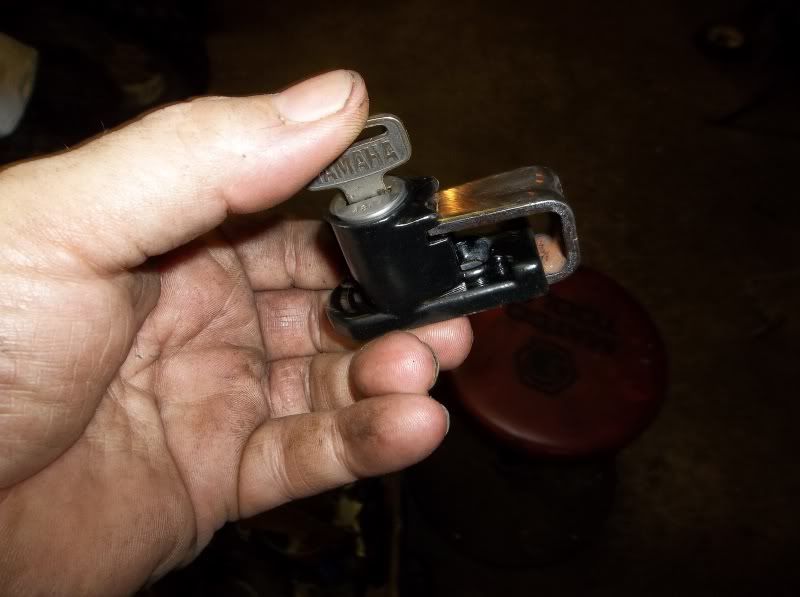
|
|
| Author: | Dave [ Wed Sep 26, 2012 4:19 pm ] |
| Post subject: | Re: 1978 DT175 Rebuild and Restoration. |
found a broken bolt to remove.  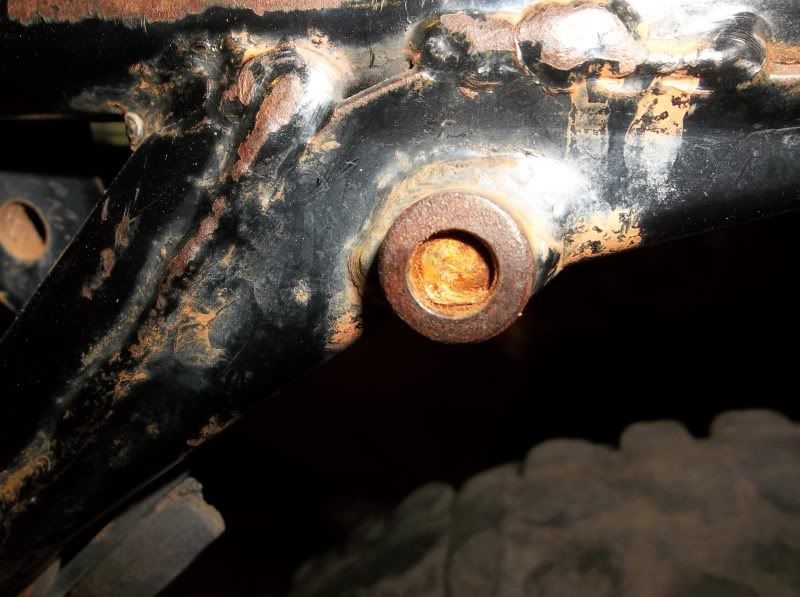 i got as close to center and started the drilling. 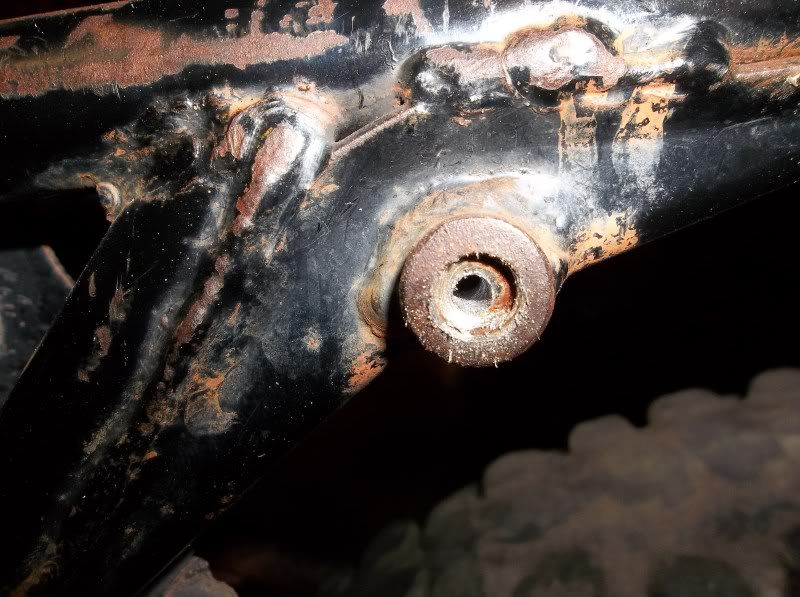 i worked up in size on the drill until the old bolt was super thin,the threads were almost exposed. 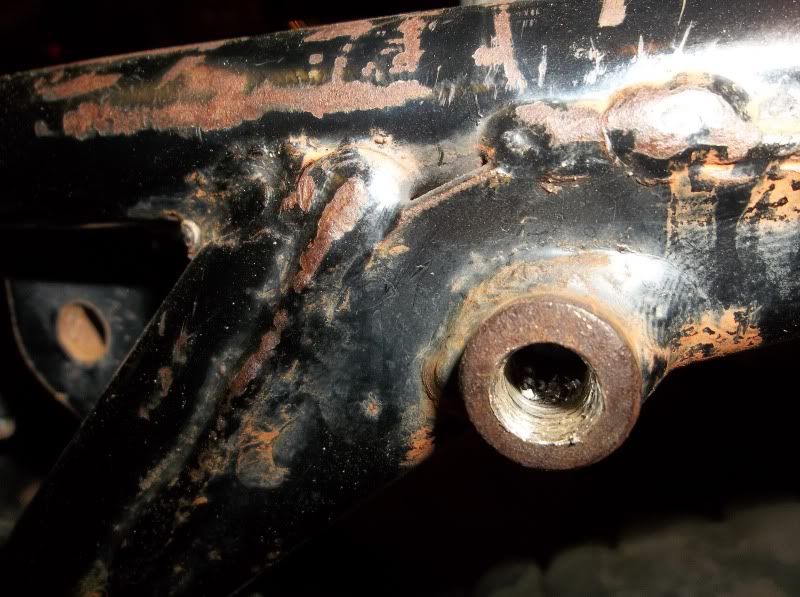 then i got out the 8 mm x1.25 tap.  and tapped out the hole,almost like new.  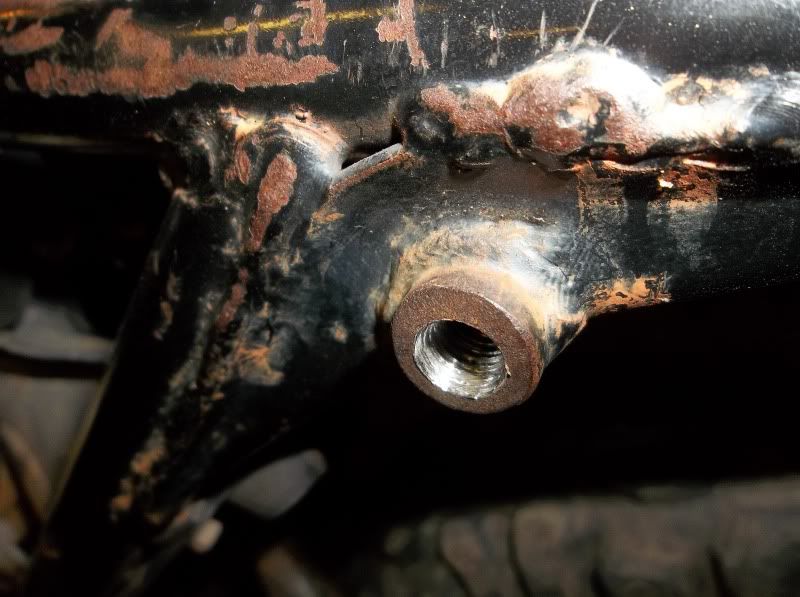
|
|
| Author: | Dave [ Wed Sep 26, 2012 4:25 pm ] |
| Post subject: | Re: 1978 DT175 Rebuild and Restoration. |
the best tool i had found to remove and reinstall the kick stand spring is a drum brake spring too. 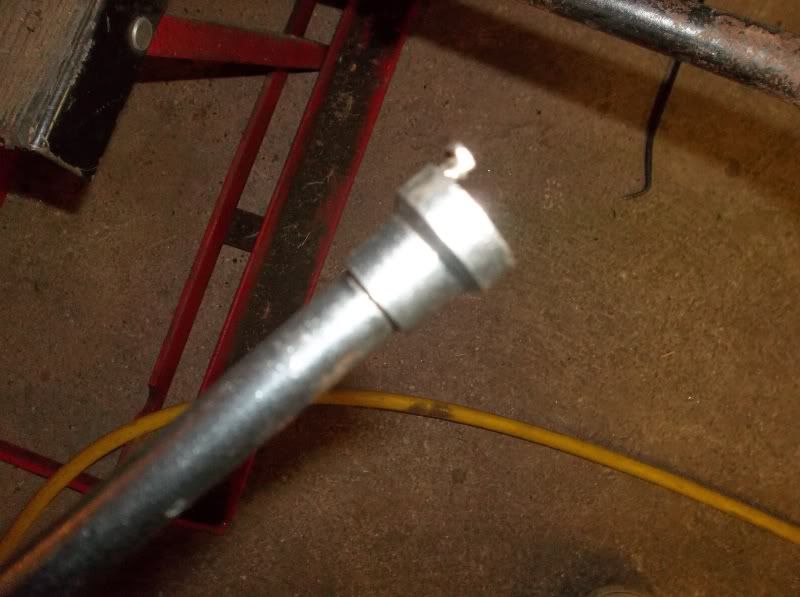 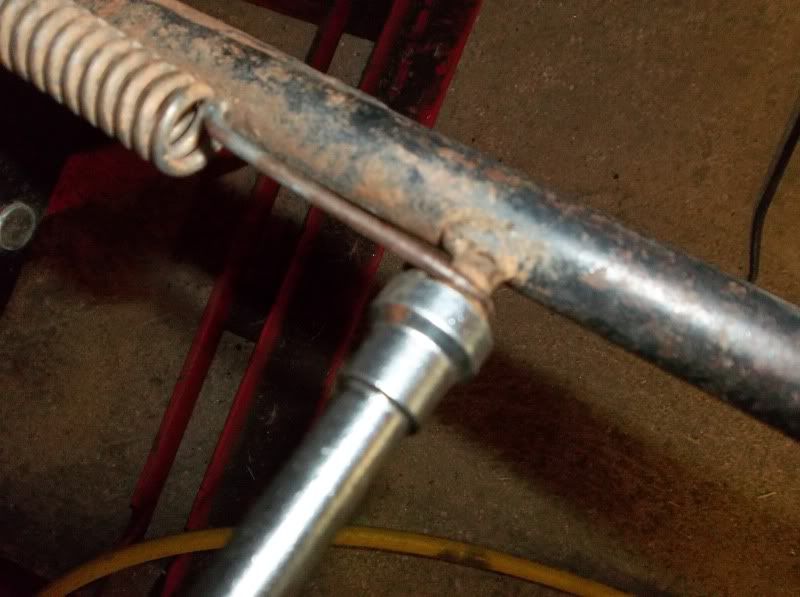 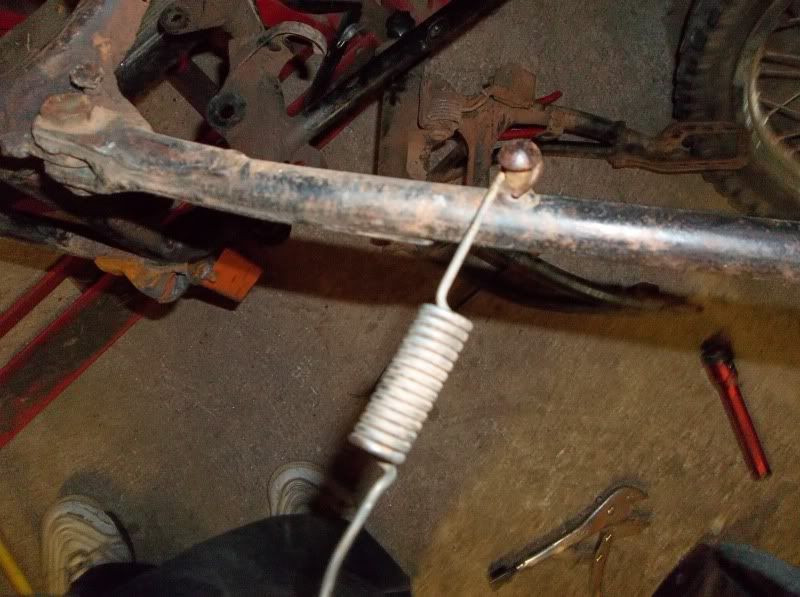 i then finished stripping the frame of more parts. 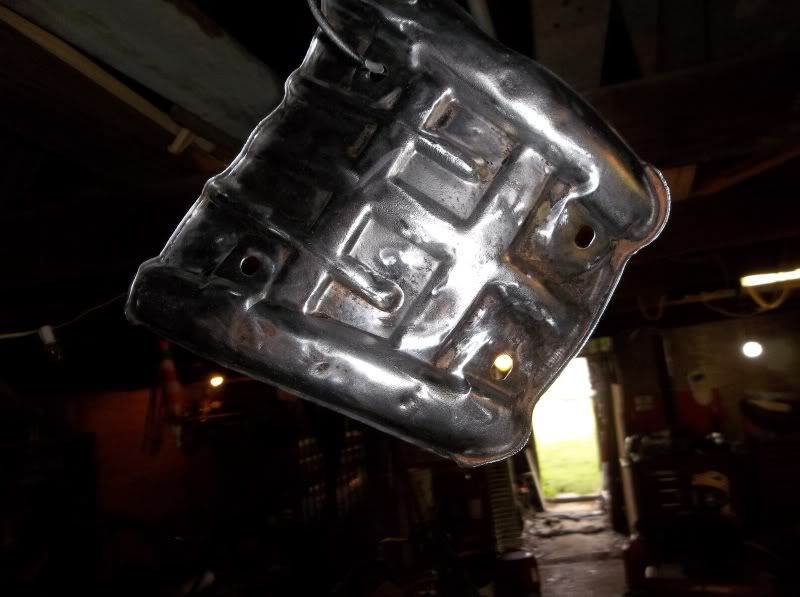 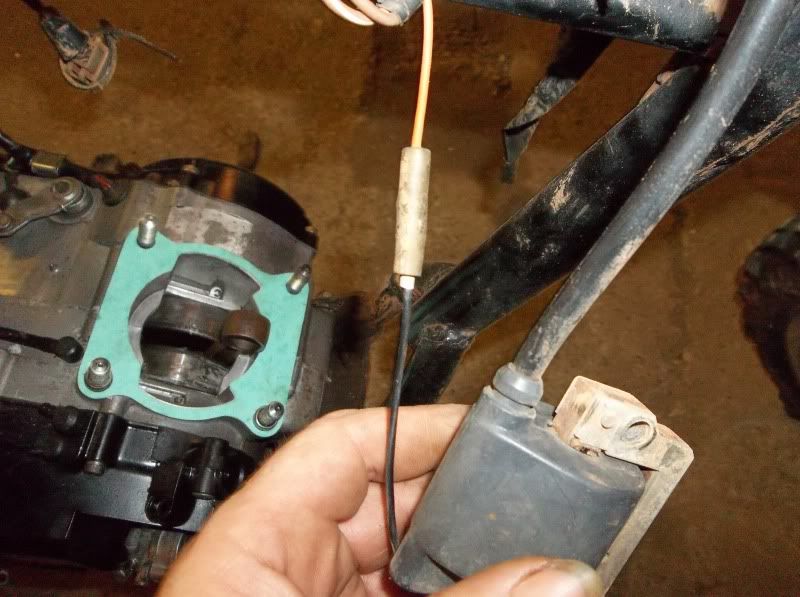 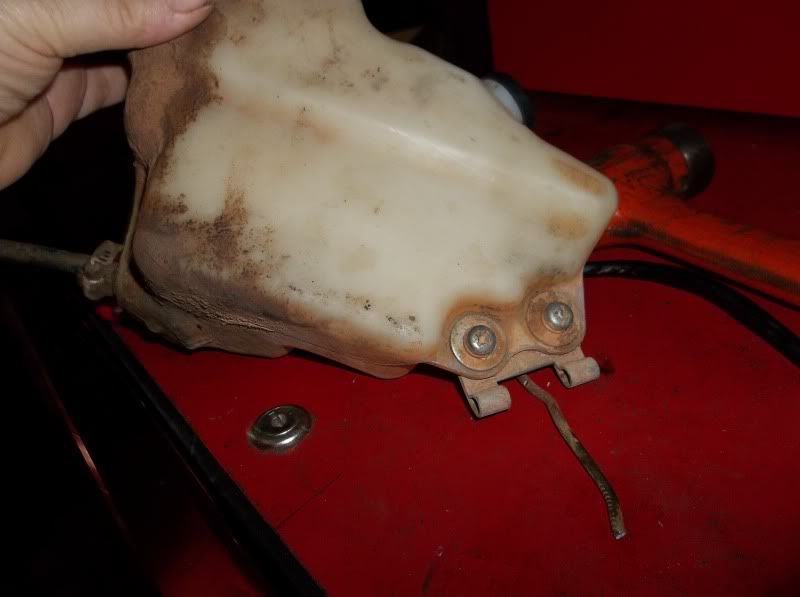
|
|
| Page 1 of 8 | All times are UTC - 7 hours [ DST ] |
| Powered by phpBB® Forum Software © phpBB Group https://www.phpbb.com/ |
|